Instruction for sewing top for Barbie Top Pattern
First of all, download and print doll top pattern for free.
Making clothes for your favorite dolls can be a lot of fun! Why not begin with something easy, like this free barbie top pattern? It is simple to follow, and you will have a beautiful piece of clothing in no time. You can even use different types of fabrics or threads for the top for variety. Get creative and make one-of-a-kind outfits for your doll collection!
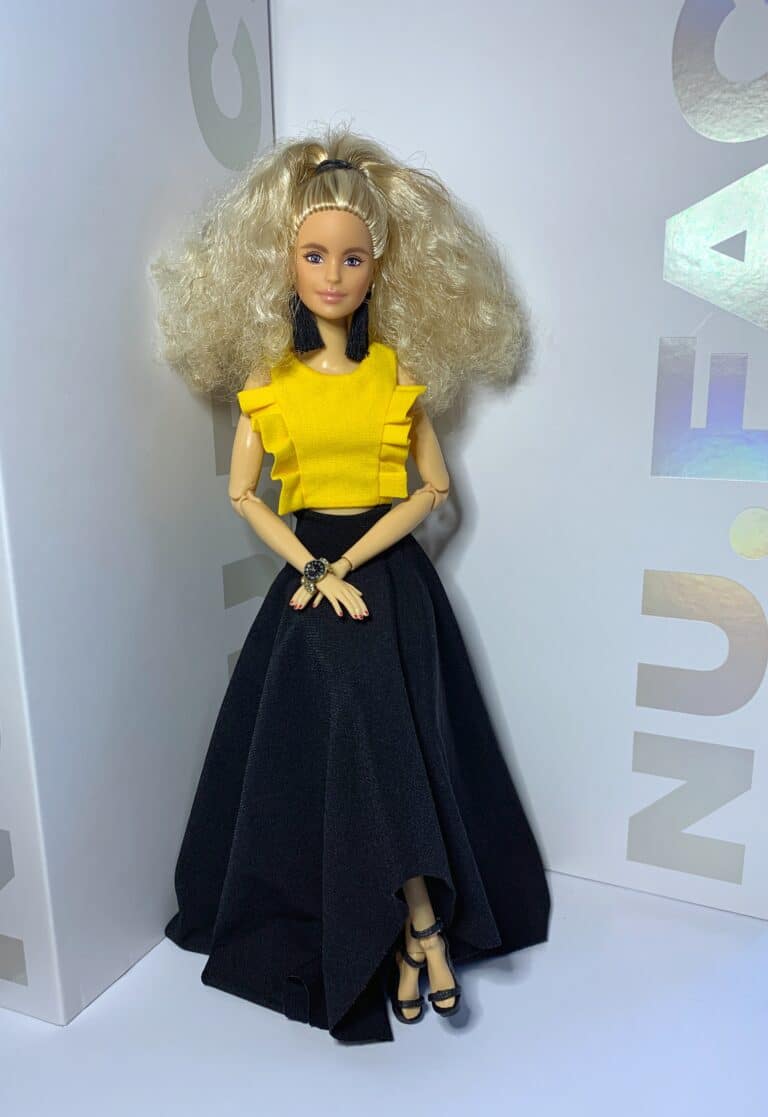
Step1
We transfer the pattern to the fabric, add allowances and cut out. We should get the details of the front side and the details of the inside.
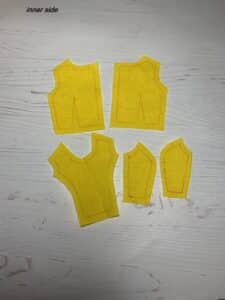
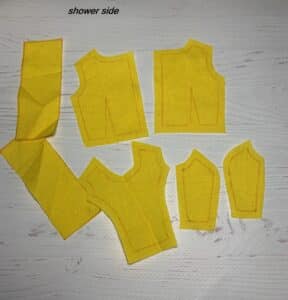
Step2
Fold the detail of the folds, stitch as shown in the photo, cut off the corner, turn it right side out, and iron.
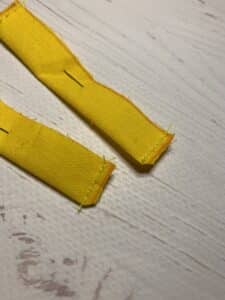
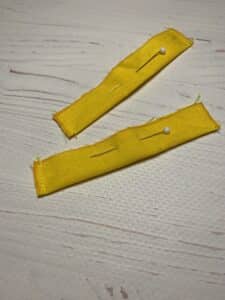
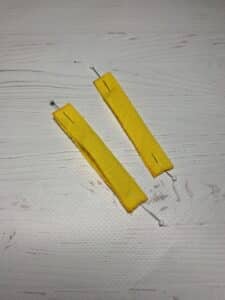
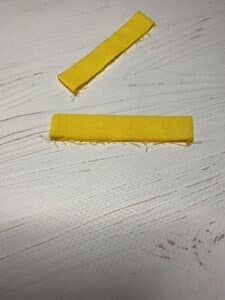
Step3 - Barbie Top Pattern
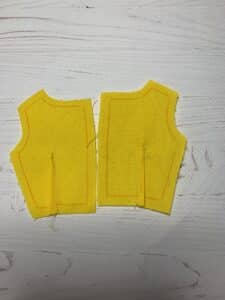
We take part of the back, and there are 2 of them. We sew a tuck to each piece, do not cut off the excess fabric!
Step4
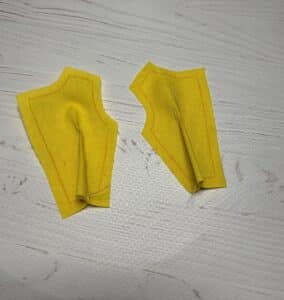
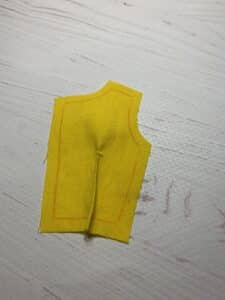
Iron the details. Iron the tuck on the side.
Step5
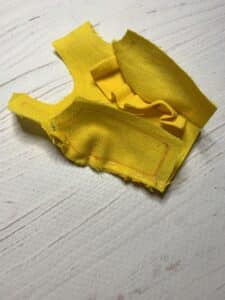
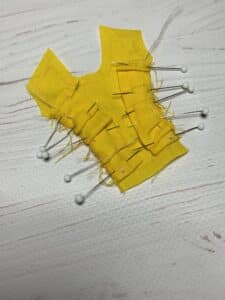
We take part of the front and attach 2 pieces, forming folds. Next, we sew on a sewing machine. Finally, sew along the edge with an overlock.
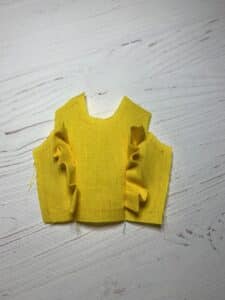
Step6 - Barbie Top Pattern
We fold the front and back details and sew the shoulder seams.
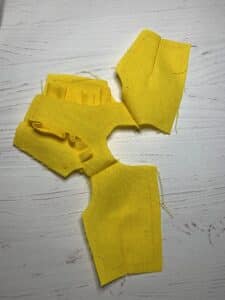
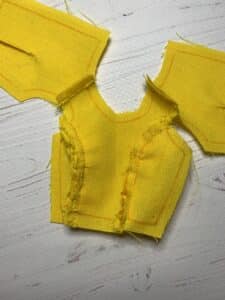
Step7
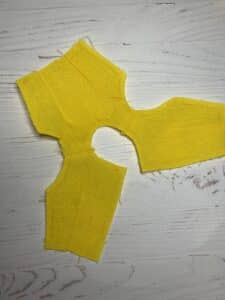
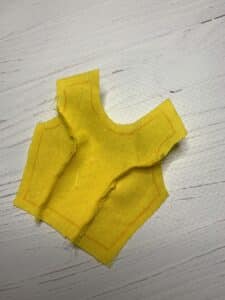
We take the details of the inner side and flash everything as with the details of the outer side. Sew a tuck on the back. We connect the details of the front but without the details of the folds. We combine the shoulder seams of the pieces of the front and back.
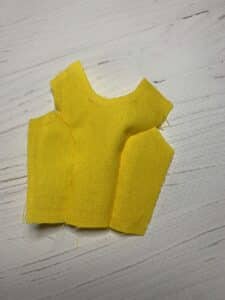

Step8 - Barbie Top Pattern
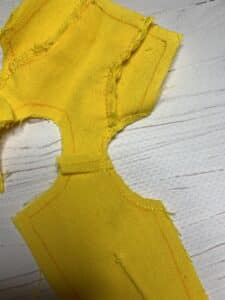
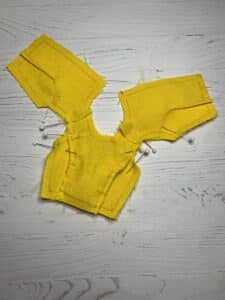
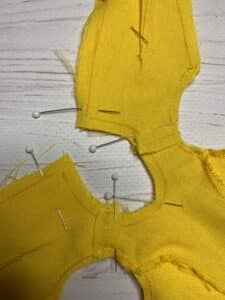
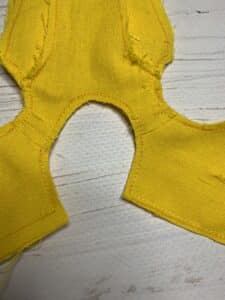
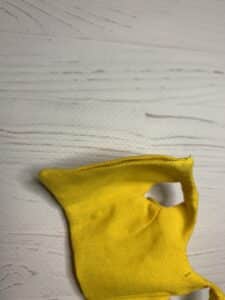
We add 2 of our resulting parts with the right sides to each other and grind along the armhole.
Step9
Now we sew the neck.
Step10
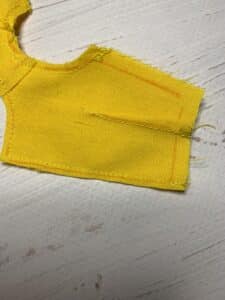
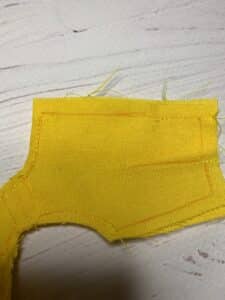
Sew the details of the back along the edge. From one part, we do not sew to the end. Instead, we leave a gap through which we will turn out later.
Step11 - Barbie Top Pattern
Carefully turn the right side out through the shoulder seam. It’s hard, but you can do it, ironing.
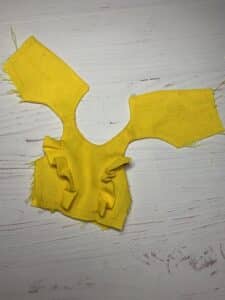
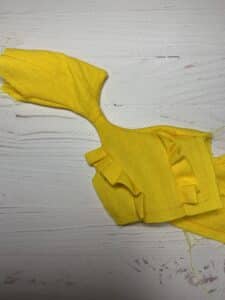
Step12
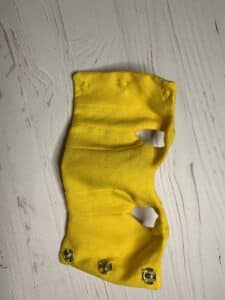
Next, we connect parts 1 and 1, 2, and 2. The pattern is marked with lines, stitch, turn inside out, and iron.
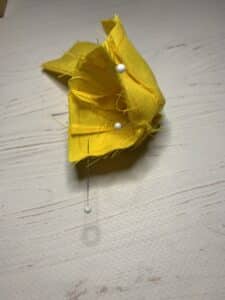
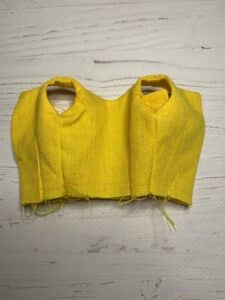
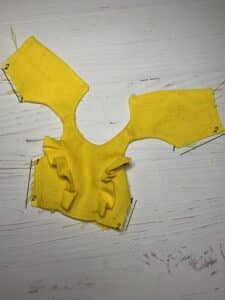
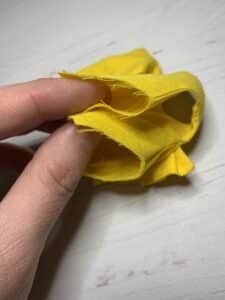
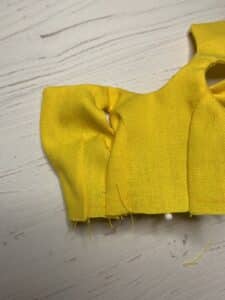
Step13 - Barbie Top Pattern
Turn out and sew on the bottom.
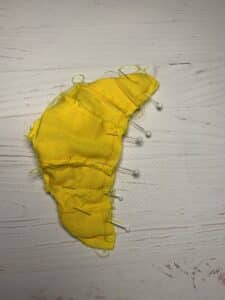
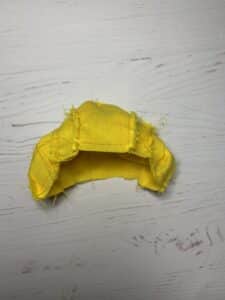
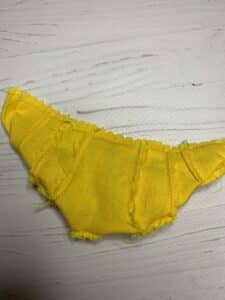
Step14
Turn the right side out through the side opening.
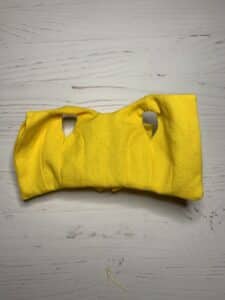
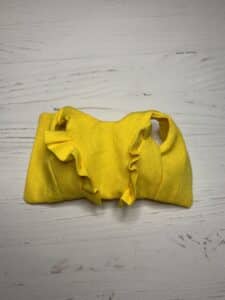
Step15 - Barbie Top Pattern
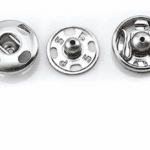
Sew up the hole with a hidden seam. Iron and sew fasteners.
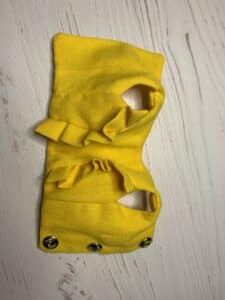
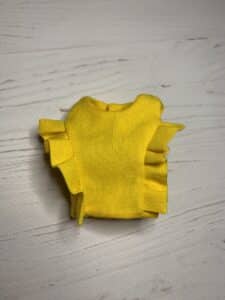
Bottom line. If you’ve wanted to learn how to sew or want an awesome Barbie top, this simple step-by-step instruction and free pattern can help you achieve a girlish and cute look. All you need to do is choose the fabric of your choice and, following the instructions, create an item that is uniquely yours. The barbie top will keep you stylishly cool while showcasing your creative prowess. You may have found success in knitting, but this barbie top project can be great practice for any novices in the world of sewing. So go ahead and create something as unique as yourself!! If you’re looking for more information on how to make barbie clothes, feel free to read more here.
Material needed for sewing Barbie Top
Below is the list of goods I used for sewing Barbie top pattern. But you should understand that if you buy a product using my recommendation link, I may receive an affiliate commission.
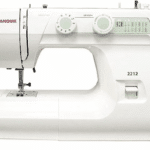
Sewing machine. You don’t have to have a sewing machine. This pattern can be made by hand sewing. But I want to say that buying a sewing machine was the best decision on my creative path.
FAQ
The article provides instructions on how to make a top for Barbie dolls. It offers a step-by-step guide to create a miniature that fits Barbie dolls perfectly.
You can find the Barbie Top Pattern on up of this page by button “Open Free Pattern”
The Barbie Top Pattern is available for free on the AshleaCrafts website. You can access and download the pattern without any charge.
Generally, you will need fabric, sewing or knitting needles, thread, scissors, and any additional embellishments or closures as specified in the pattern.
Basic sewing skills are beneficial when using the Barbie top pattern. The pattern assumes that you have some familiarity with sewing techniques, such as creating seams, attaching closures, and following pattern instructions. However, if you’re a beginner, the Barbie top pattern can still be a great way to practice and improve your skills.
Sharing the Barbie Top pattern with others is generally allowed for personal use. However, it’s important to respect copyright and not distribute the pattern as your own or for commercial purposes. If you want to share the pattern, it’s recommended to direct others to the original source (AshleaCrafts.com website) so they can access it directly.
I appreciate if you leave your comments or questions below this article.
you may be interested in

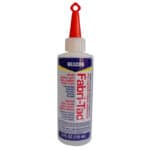
The latest generation of fabric glues offers stronger bonds, faster drying times, and improved resistance to washing
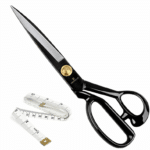
What makes the best fabric scissors? Let’s find out!
Always keep your sewing workplace clean.
You need one with an oscillating vertical bobbin system and good motor power.
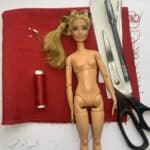
Find Free Patterns for sewing barbie clothes.
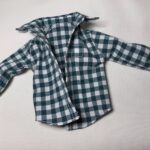
Barbie Shirt pattern is easy way to begin sewing.
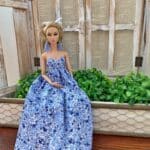
Free printable pattern to make doll dress.

Top Picks for Perfectly Pressed Fabrics.



Your passion is contagious. It’s hard not to be thrilled about the subjects you explore.