


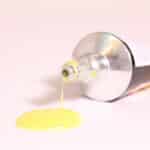
Best fabric glue in 2023
The latest generation of fabric glues.
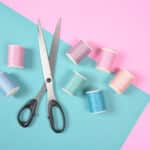
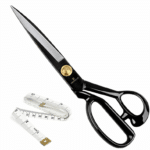
Best fabric scissors
What makes the best fabric scissors? Let’s find out!
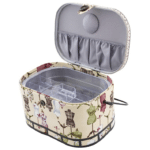
5 Best Sewing OrganizerS
Always keep your sewing workplace clean.
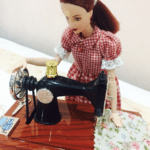
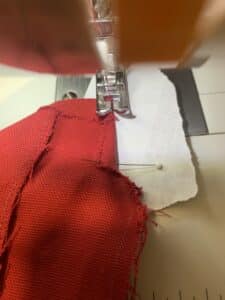
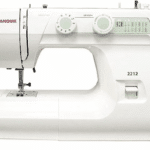
best sewing machine for doll clothes
You need one with an oscillating vertical bobbin system and good motor power.
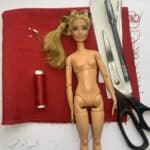
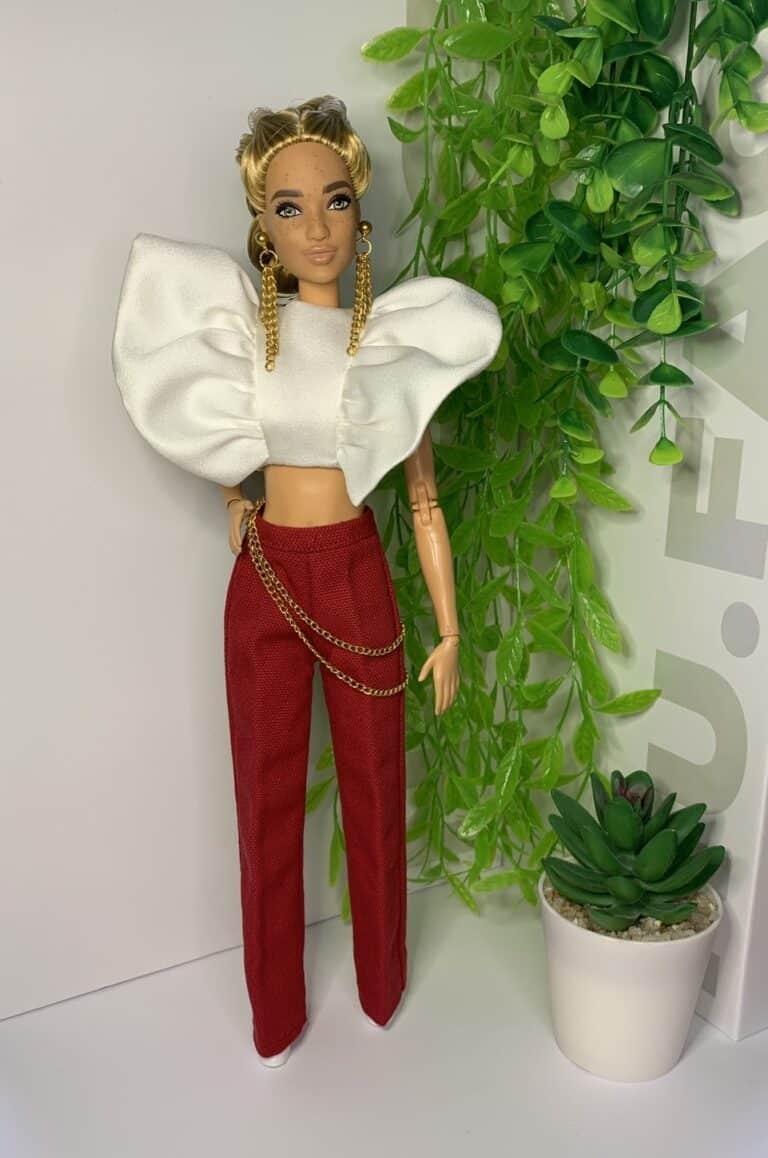
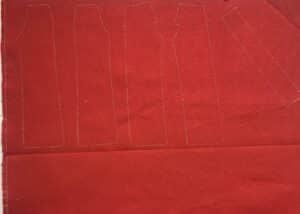
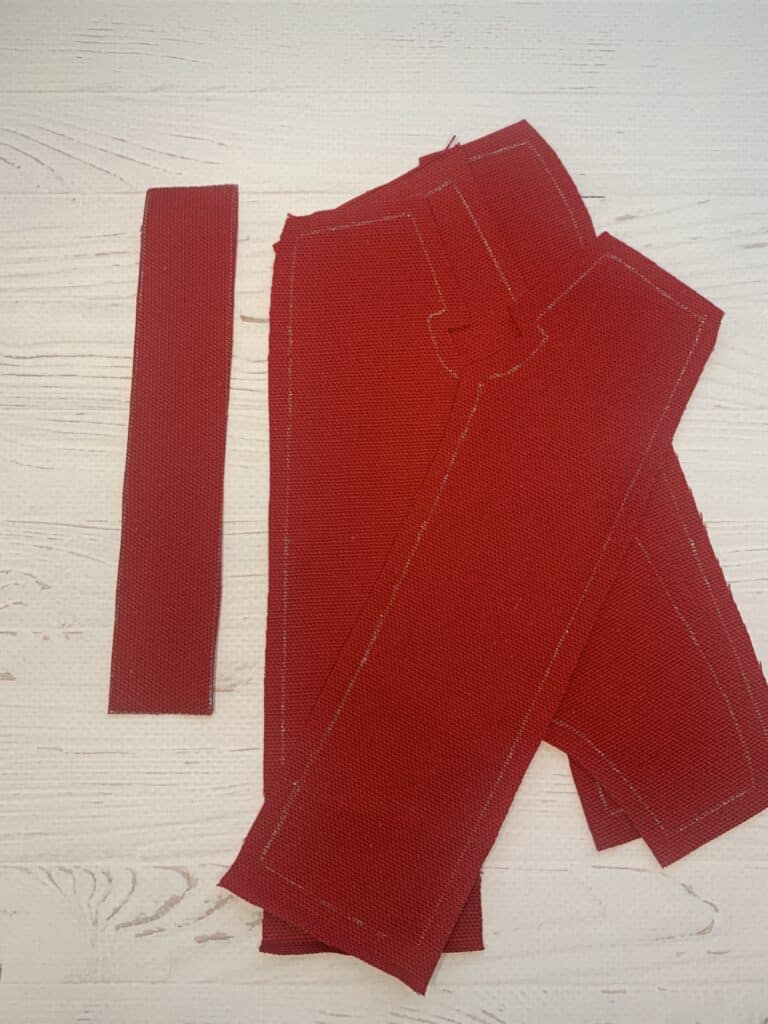
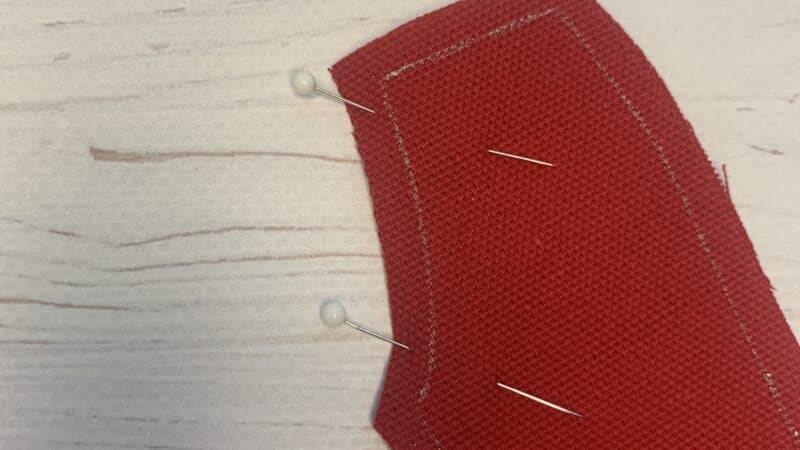
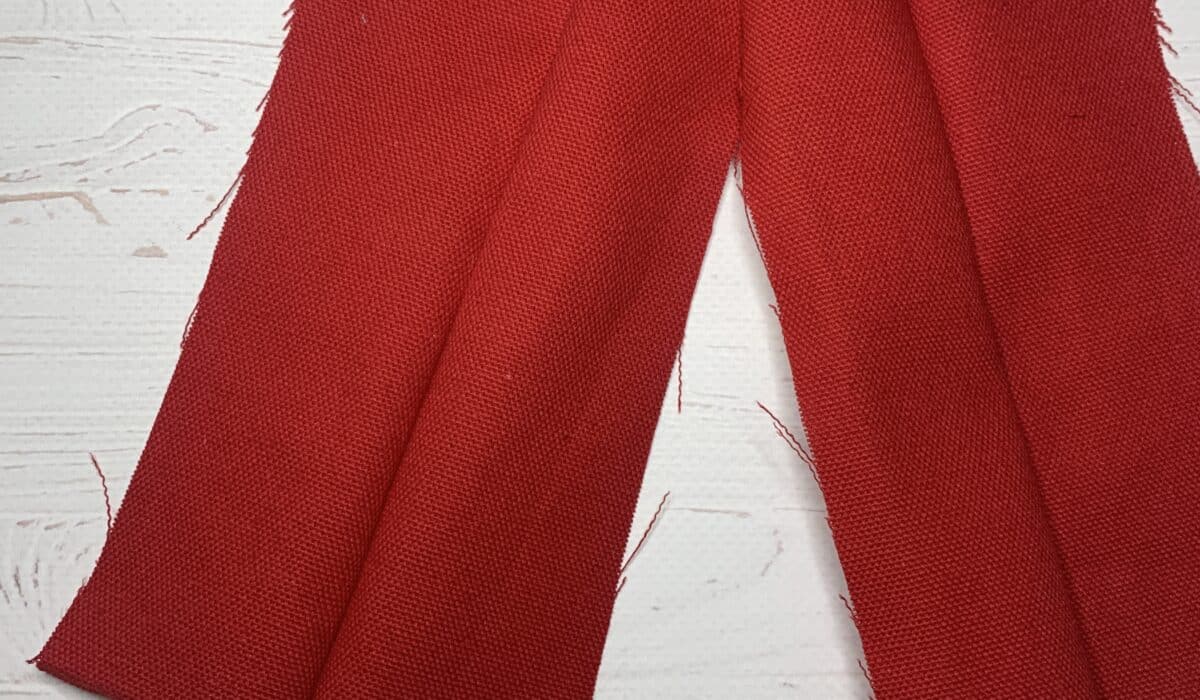
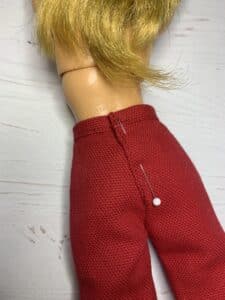
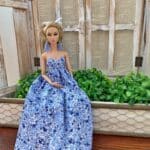
Modern Barbie Clothes Patterns
Find Free Patterns for sewing barbie clothes.
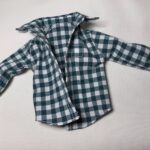
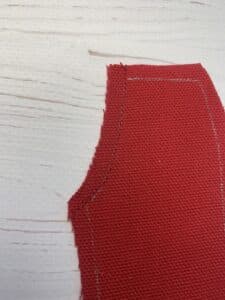
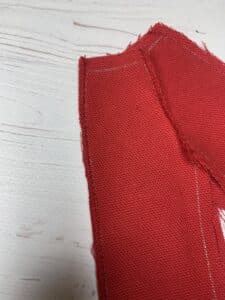
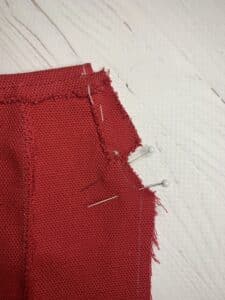
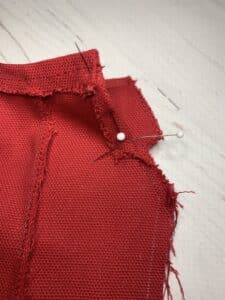
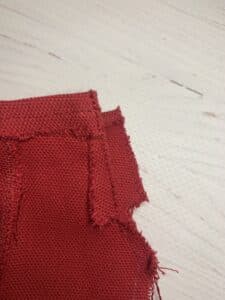
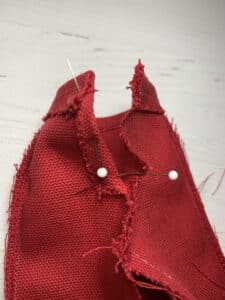
Barbie Shirt Pattern
Barbie Shirt pattern is easy way to begin sewing.
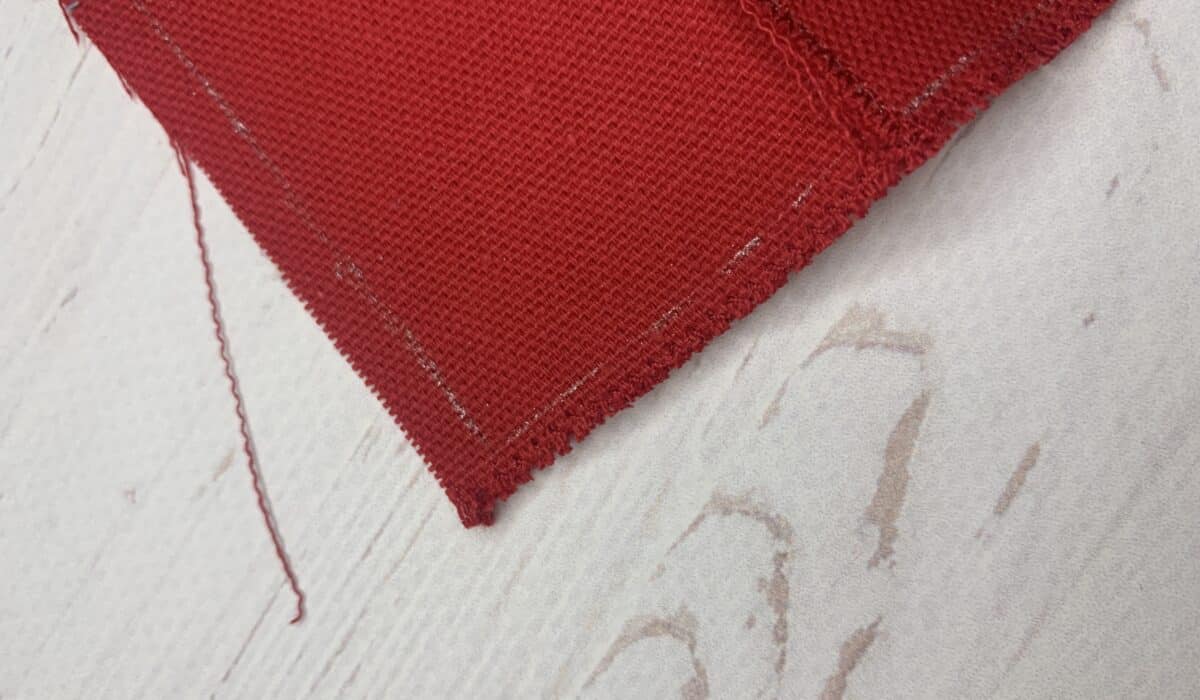
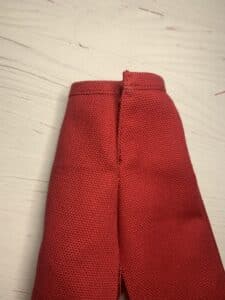
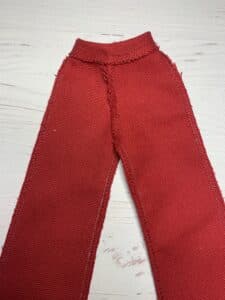
Doll Dress Pattern
Free printable pattern to make doll dress.
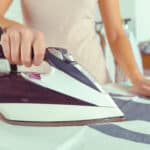
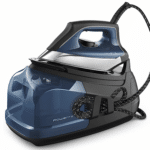
Best Irons for Sewing
Top Picks for Perfectly Pressed Fabrics.
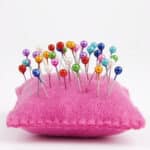
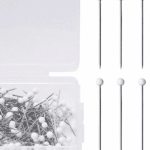
Best sewing pins
Explore the best sewing pins available in 2023.
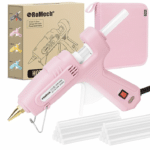
5 Best Best Glue Gun for Fabric
Comprehensive Review & Guide

Amei as roupas e muito obrigada pelos moldes, vou fazer muitas roupinhas para as bonecas das minhas netas. Obrigada. Brasília, Brasil
My pleasure 🙂