


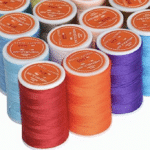

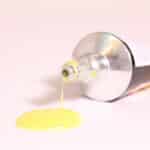
Best fabric glue in 2023
The latest generation of fabric glues offers stronger bonds, faster drying times, and improved resistance to washing
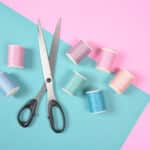
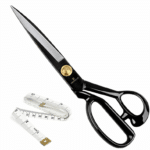
Best fabric scissors
What makes the best fabric scissors? Let’s find out!
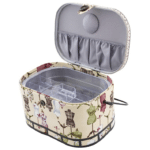
5 Best Sewing OrganizerS For Doll Clothes
Always keep your sewing workplace clean.
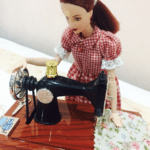
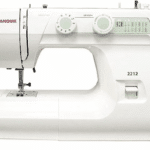
best sewing machine for doll clothes
You need one with an oscillating vertical bobbin system and good motor power.
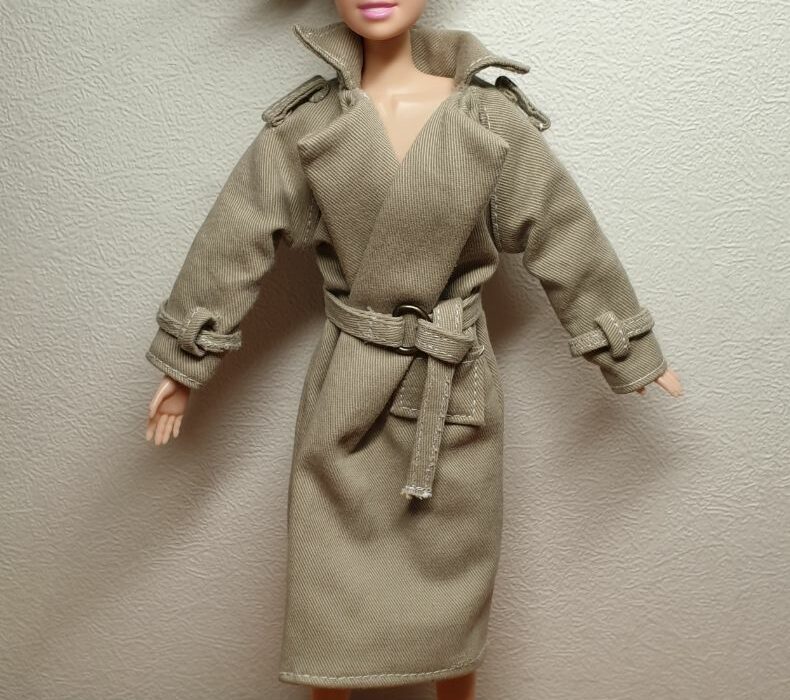
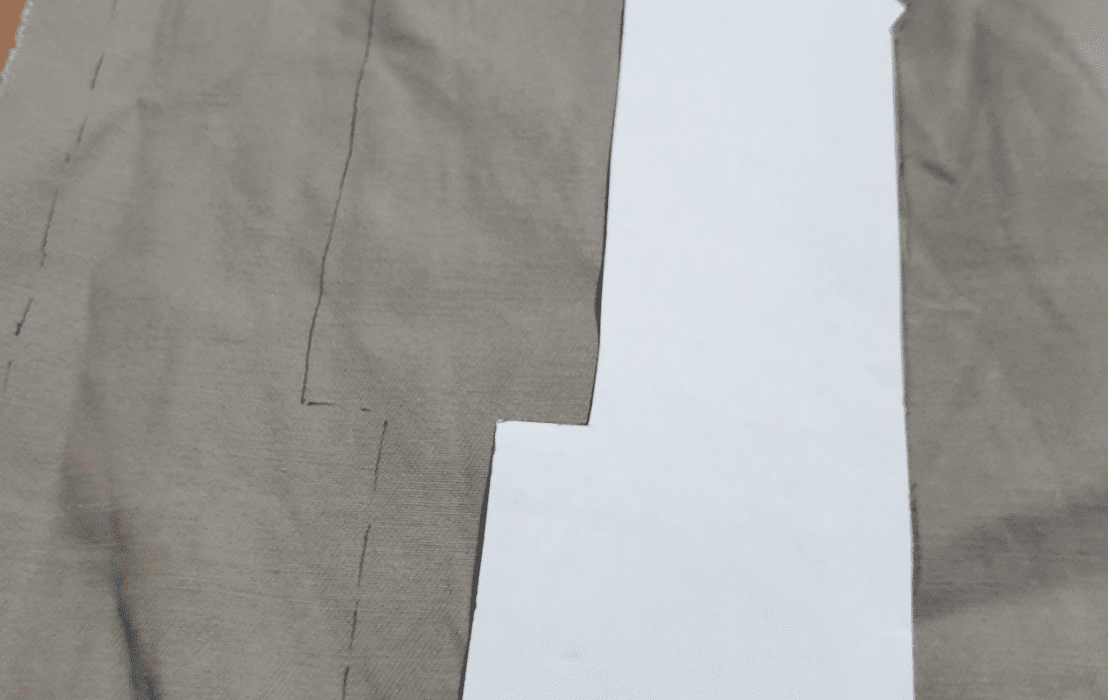
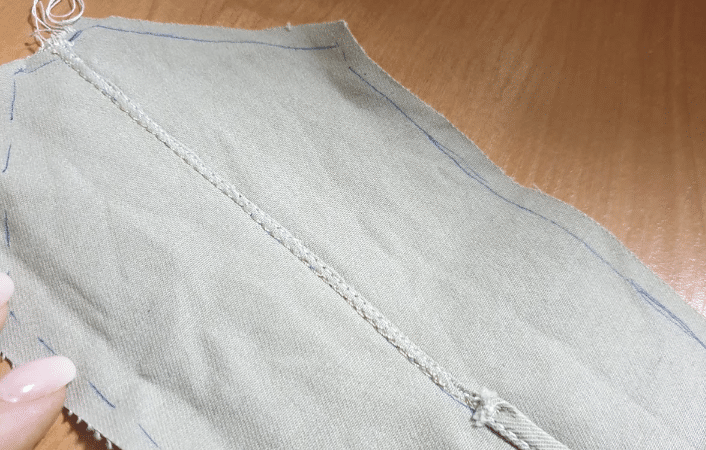
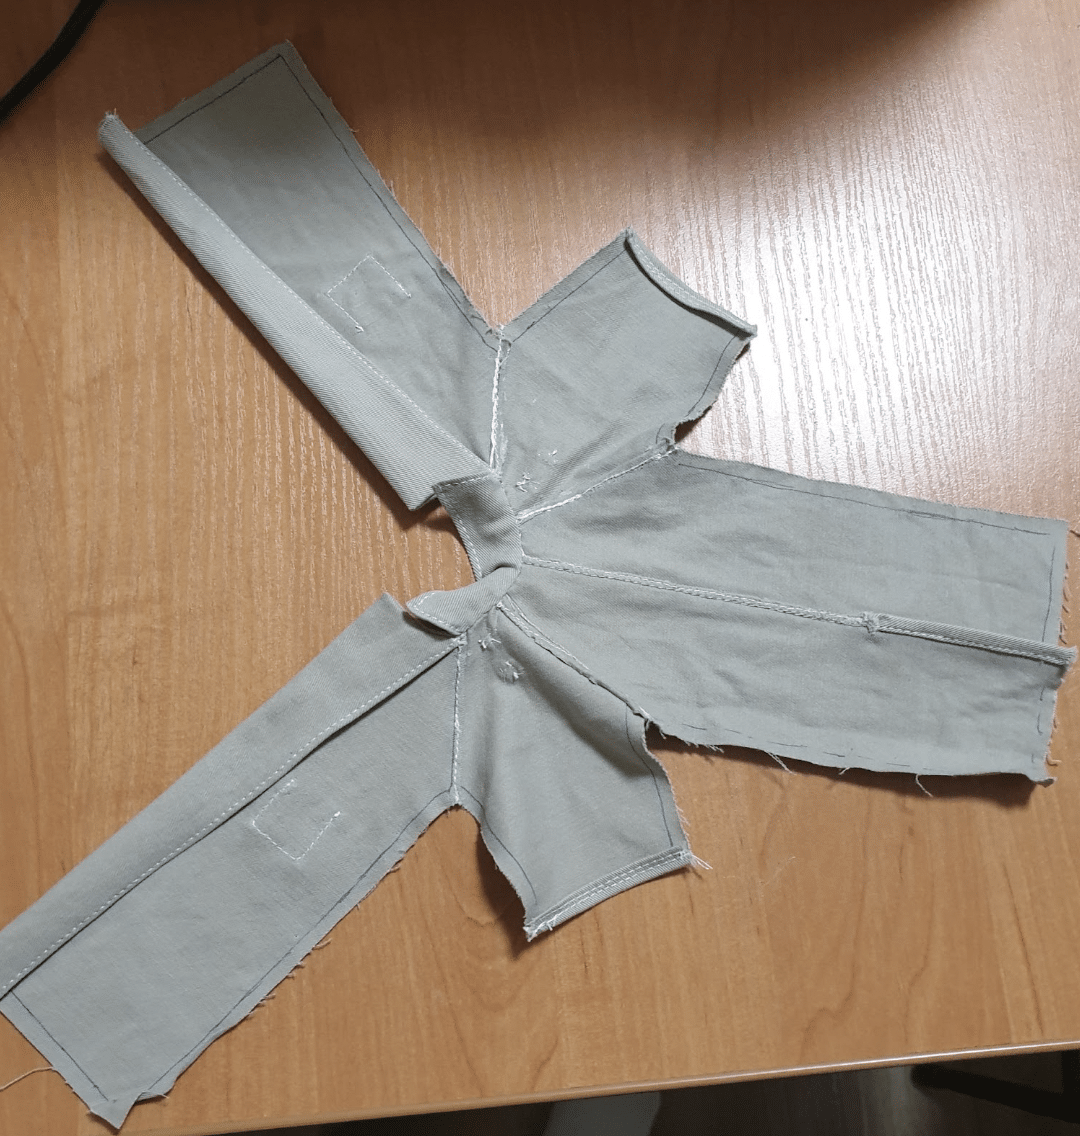
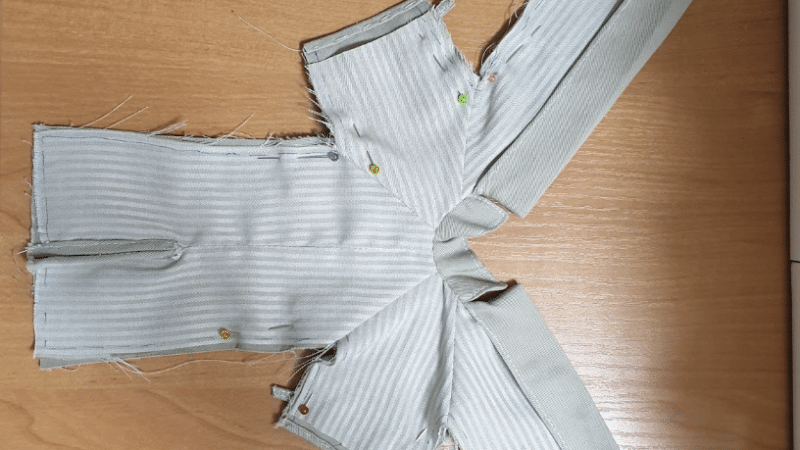
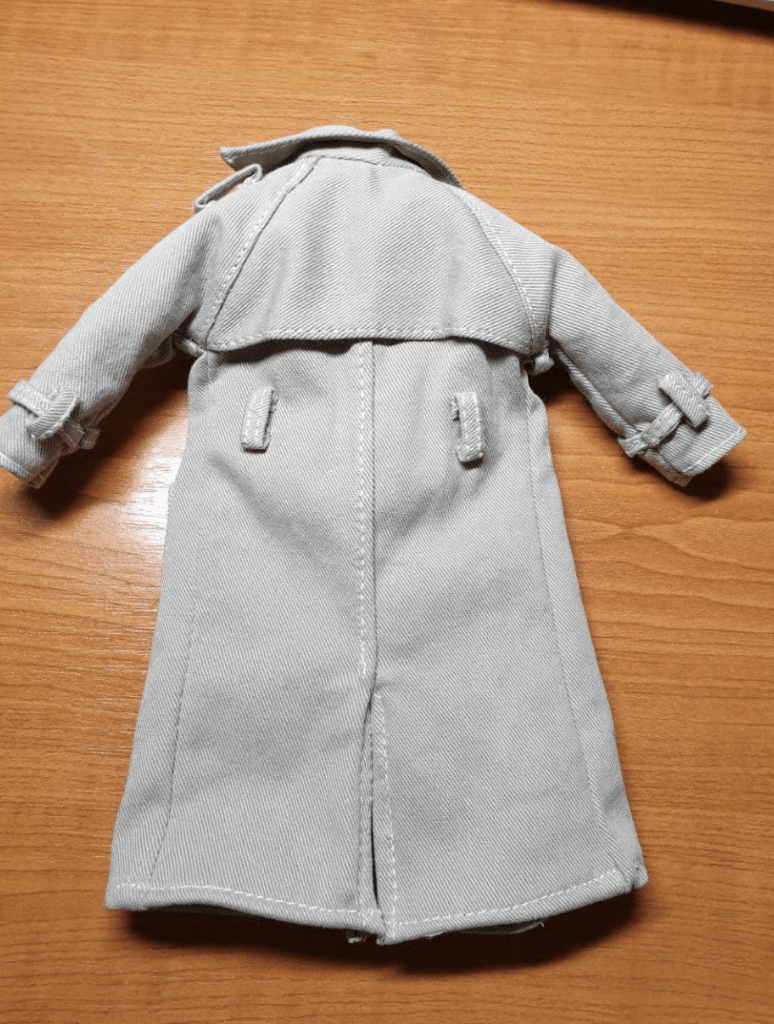
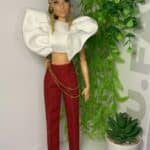
Modern Barbie Clothes Patterns
Find Free Patterns for sewing barbie clothes.
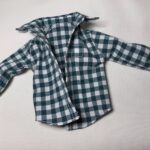
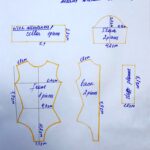
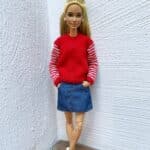
Barbie Shirt Pattern
Barbie Shirt pattern is easy way to begin sewing.
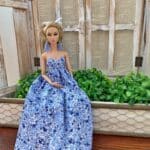
Doll Dress Pattern
Free printable pattern to make doll dress.
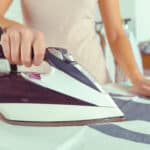
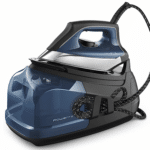
Best Irons for Sewing
Top Picks for Perfectly Pressed Fabrics.
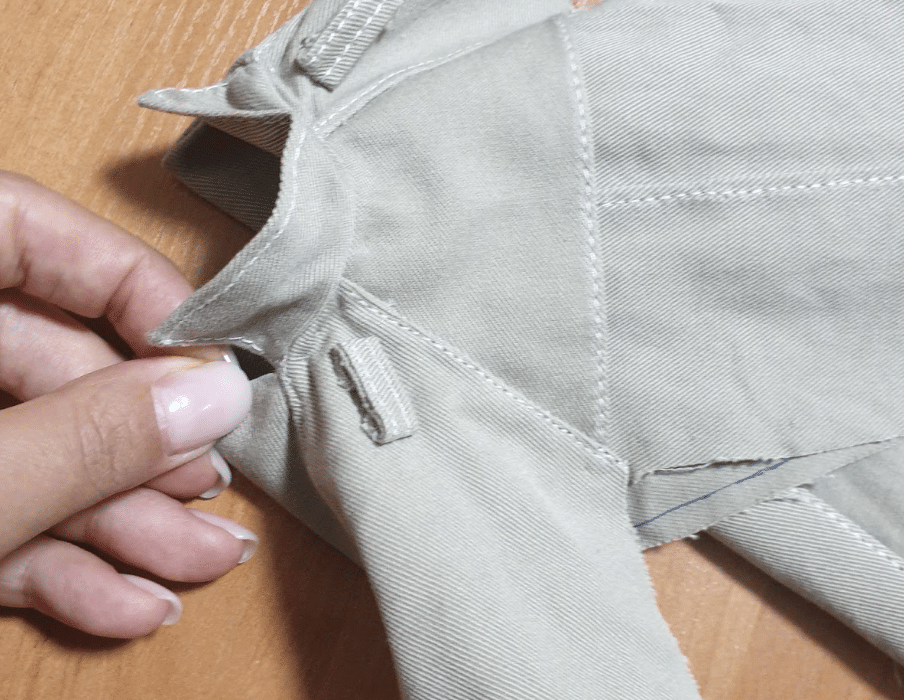
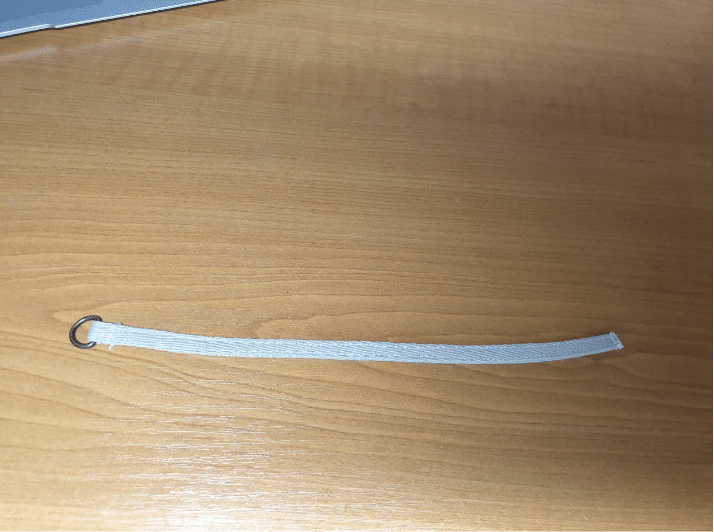
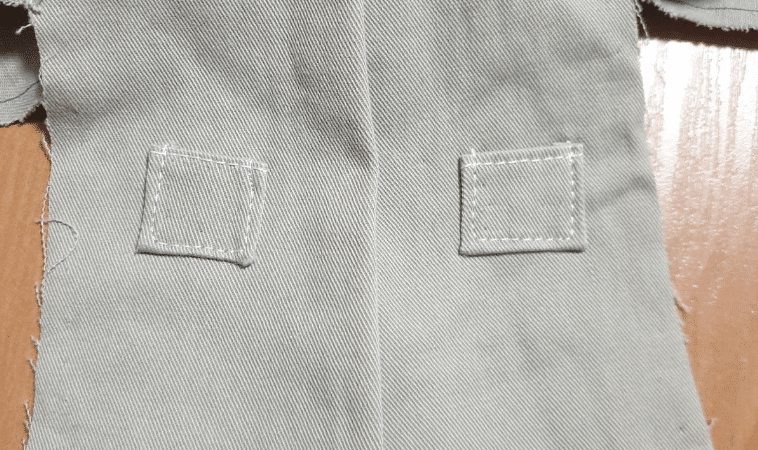
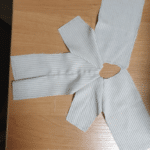
DOLL PANTS PATTERN
Get doll pants pattern free.
BARBIE SKIRT PATTERN
barbie doll skirt pattern for free.
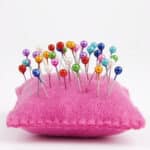
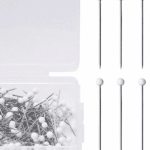
Best sewing pins
Explore the best sewing pins available in 2023.
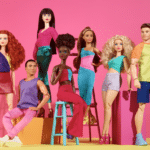
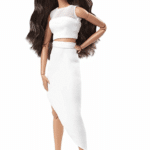
Barbie Signature Barbie Looks Dolls
Barbie Signature Barbie Looks Dolls from 2021 to 2023
