


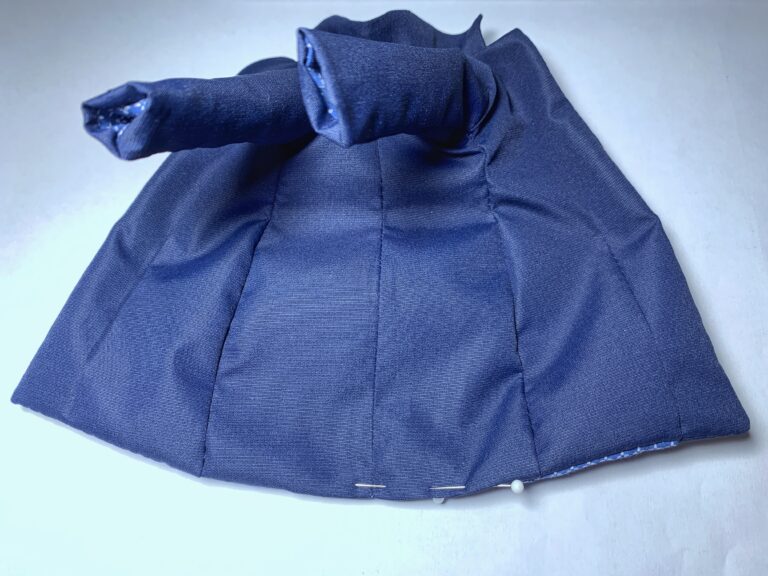
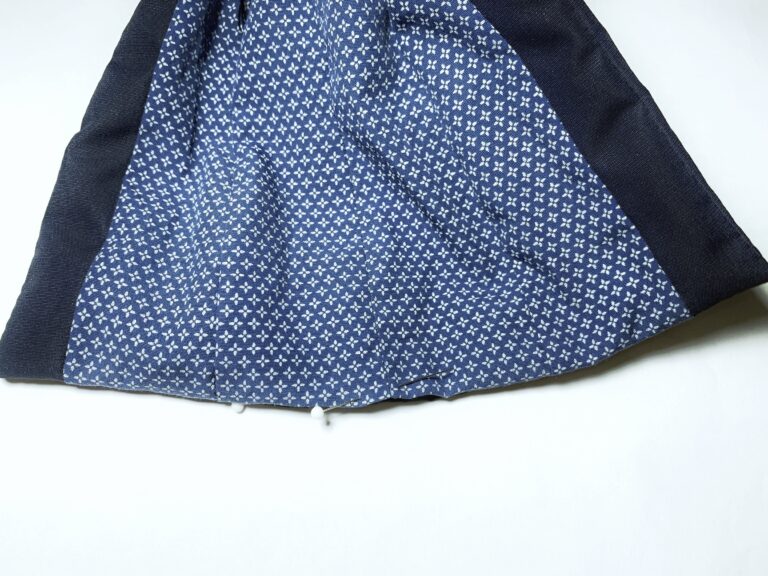


Modern Barbie Clothes Patterns
Find Free Patterns for sewing barbie clothes.
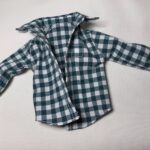
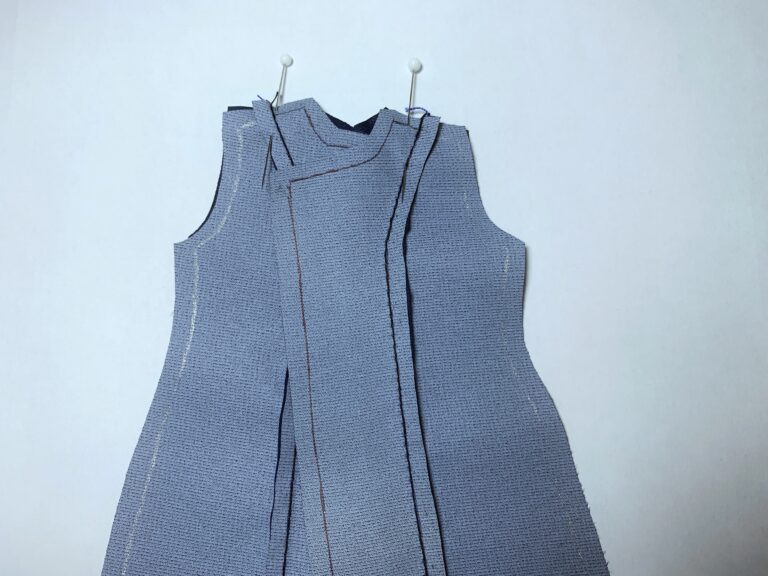
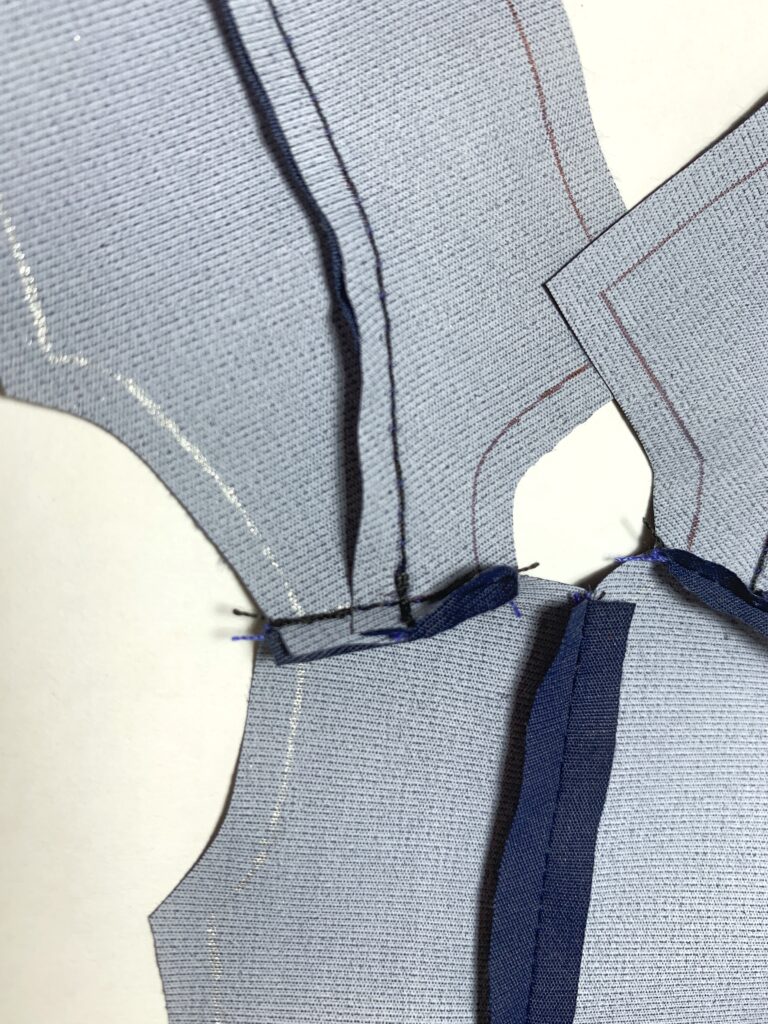
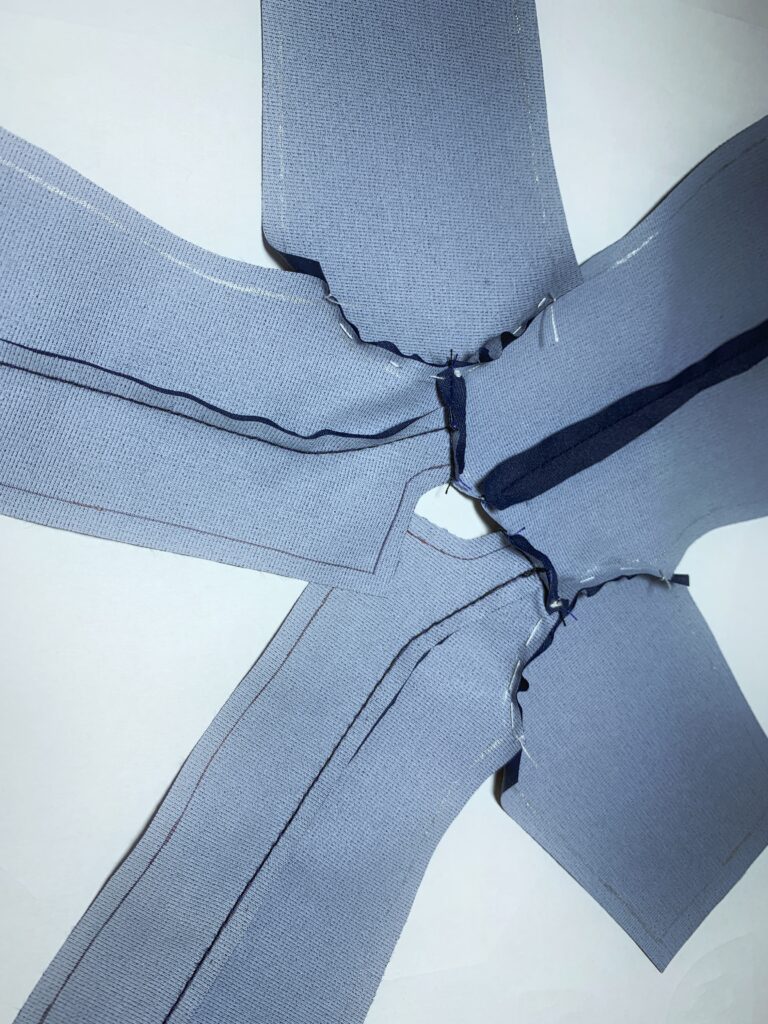
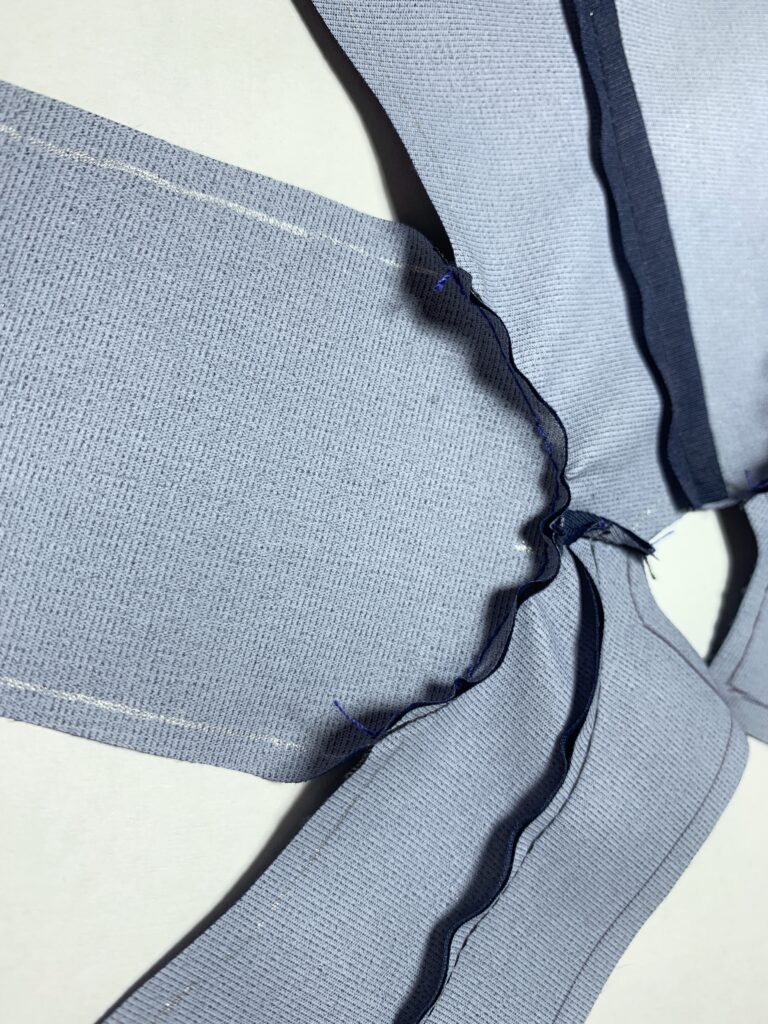
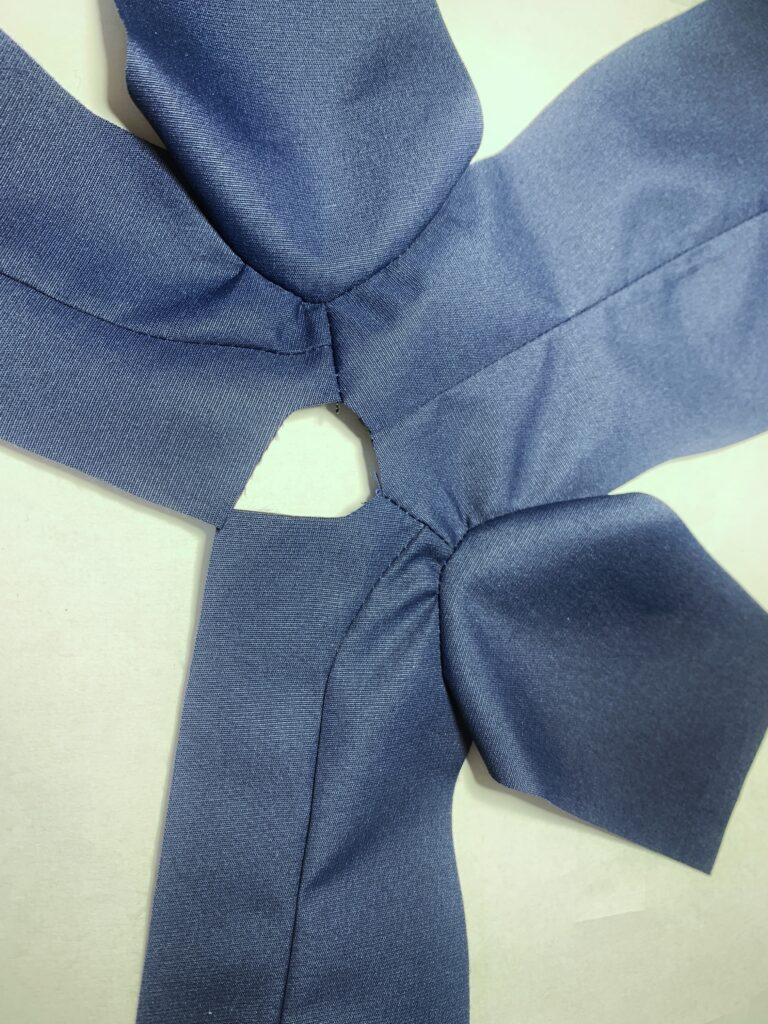
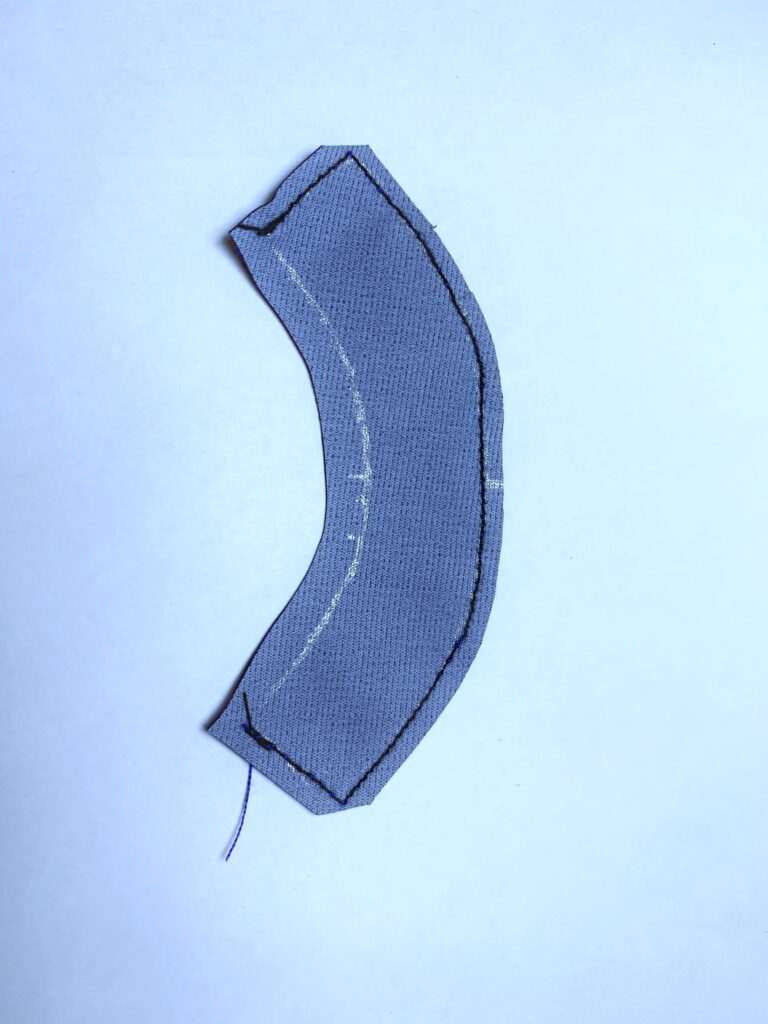
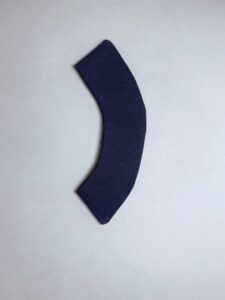
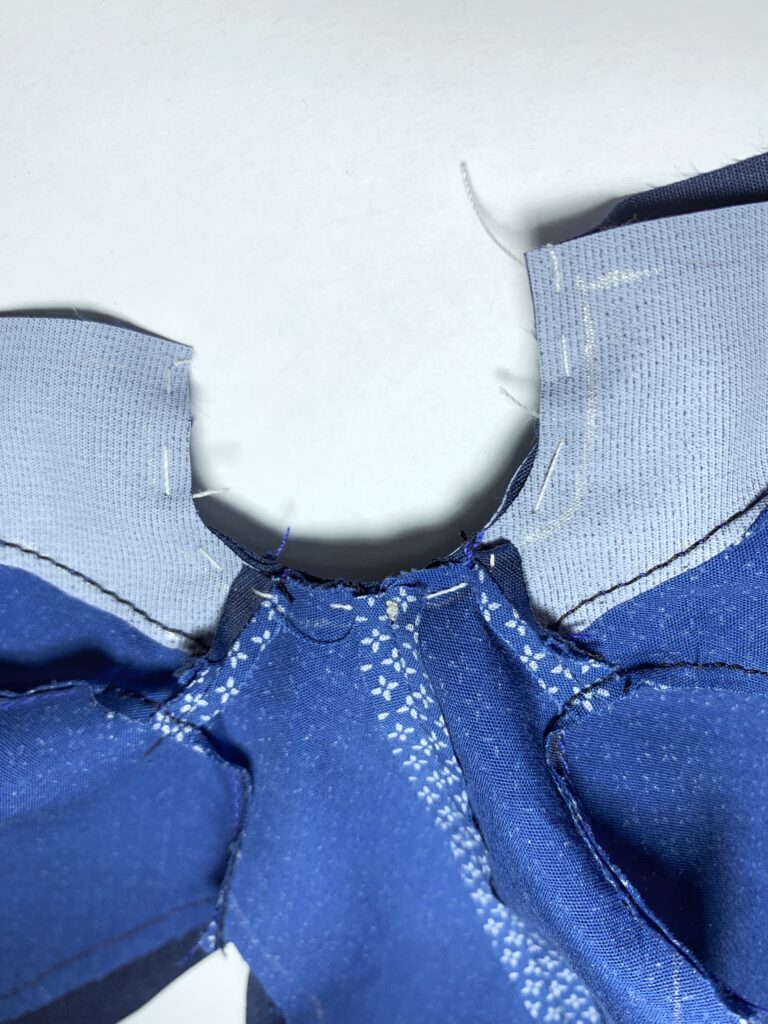
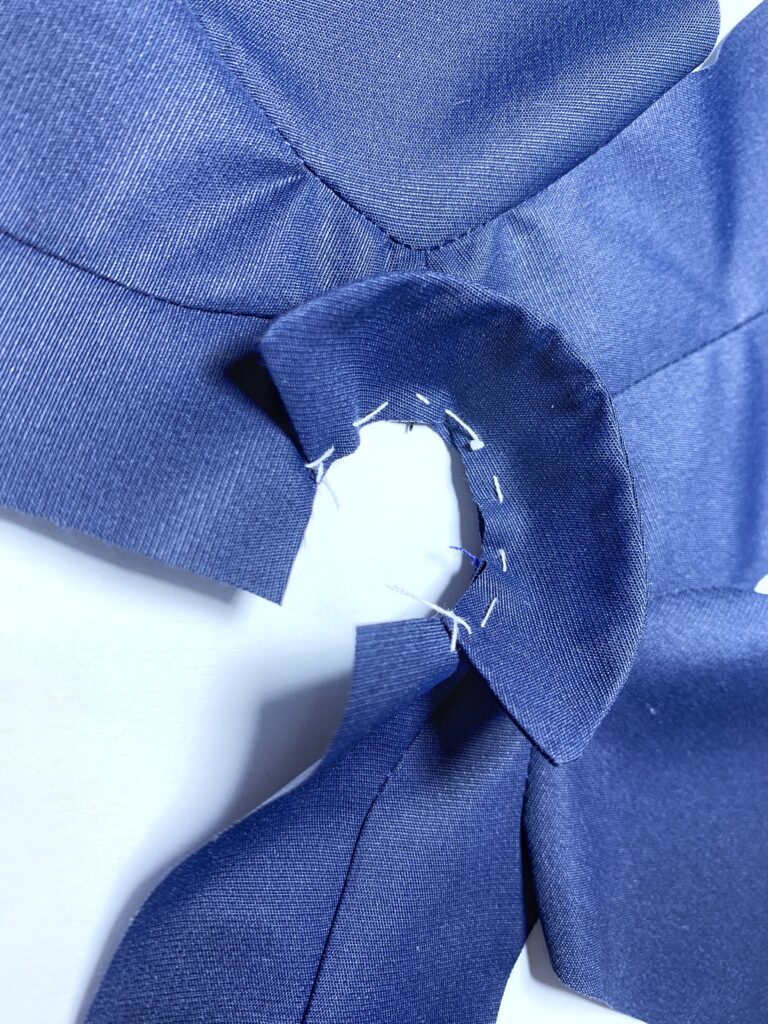
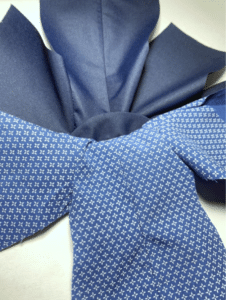
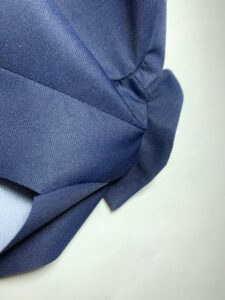
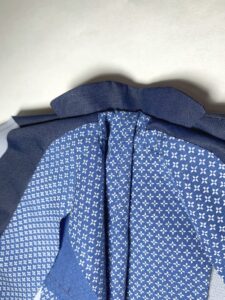
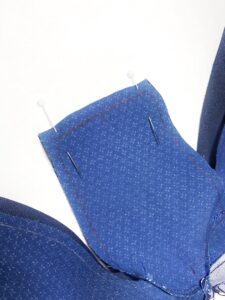
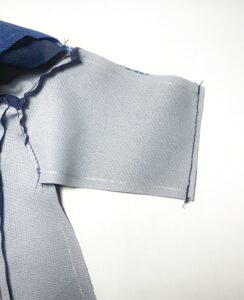
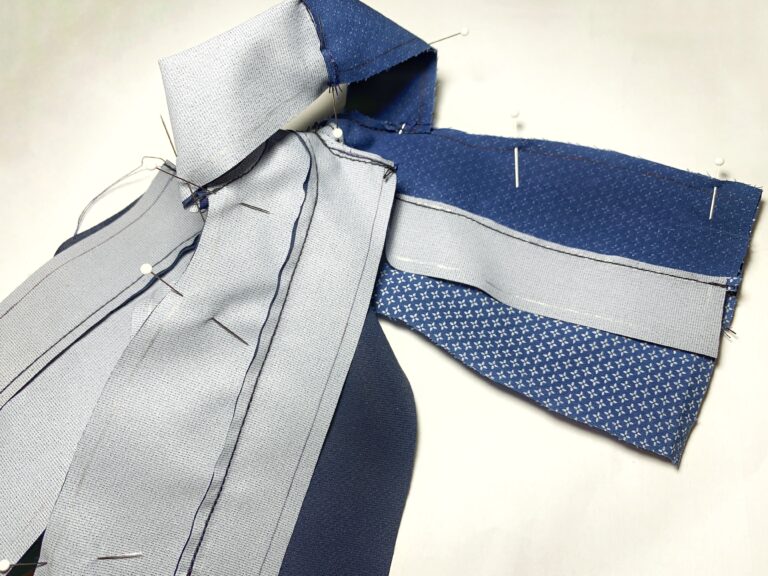
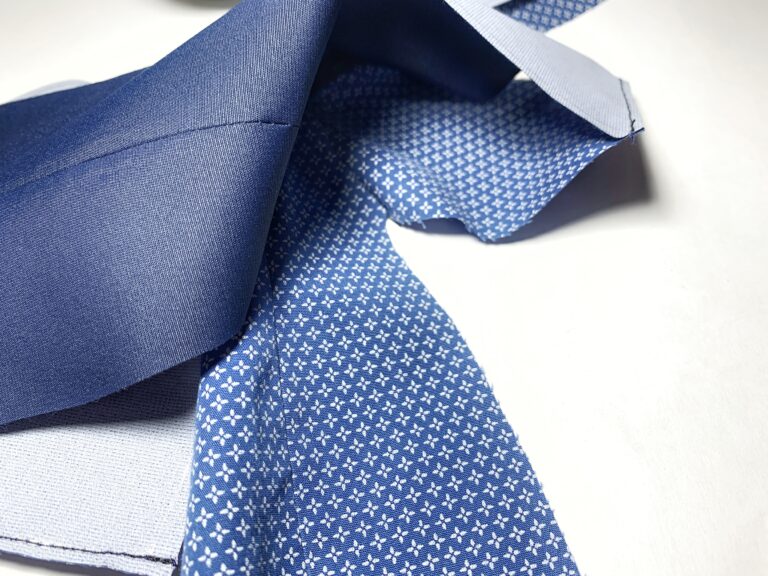
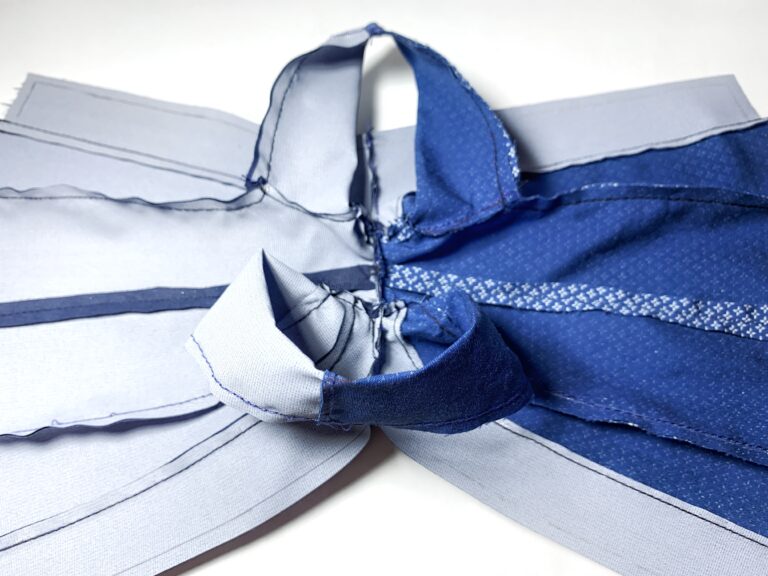
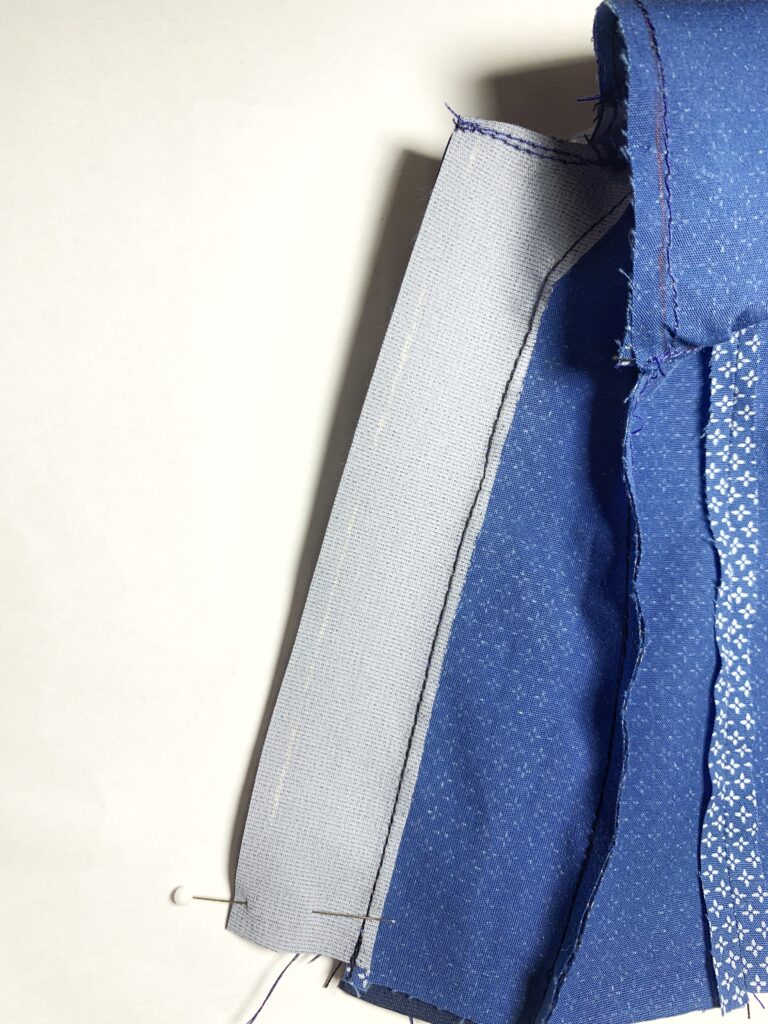
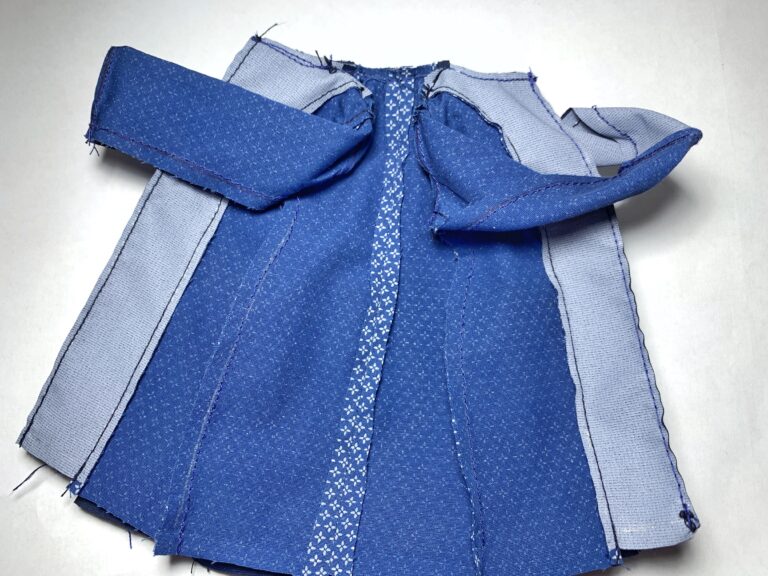
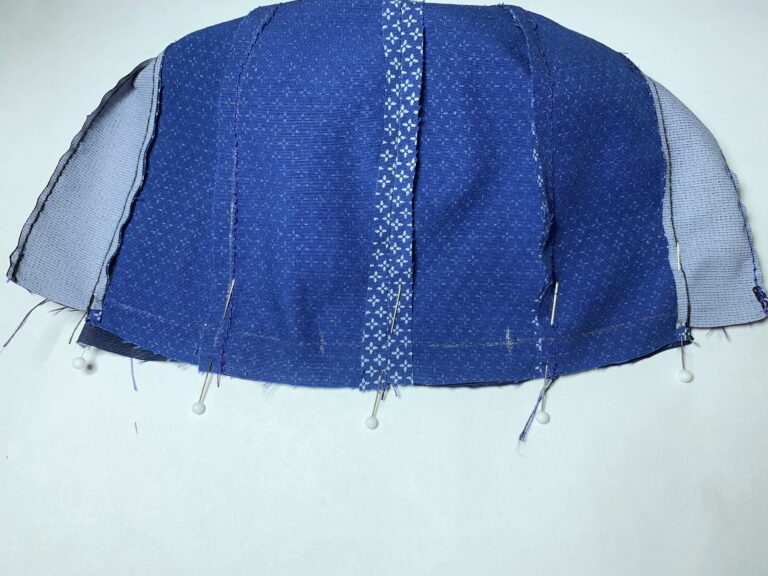
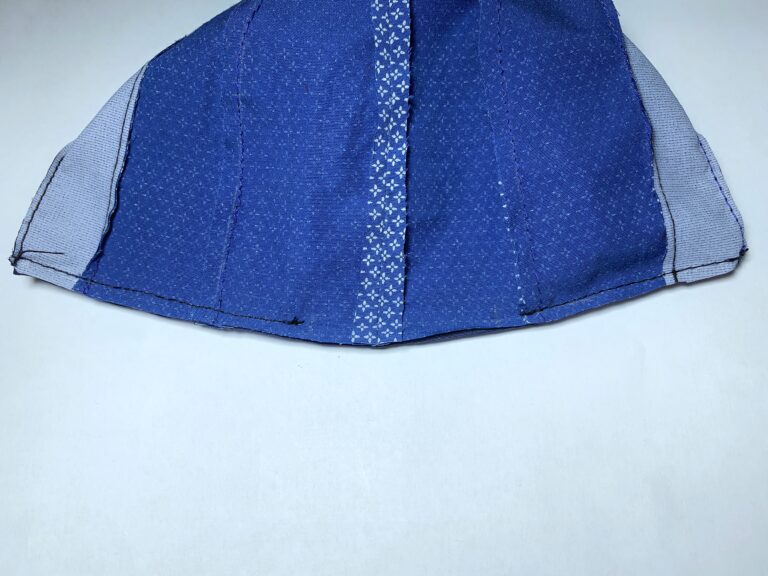
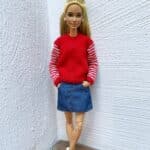
Barbie Shirt Pattern
Barbie Shirt pattern is easy way to begin sewing.
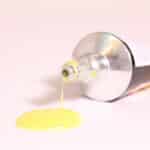
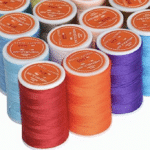
Best fabric glue in 2023
The latest generation of fabric glues offers stronger bonds, faster drying times, and improved resistance to washing
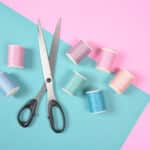
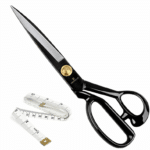
Best fabric scissors
What makes the best fabric scissors? Let’s find out!
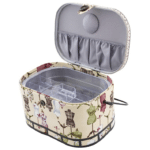
5 Best Sewing OrganizerS For Doll Clothes
Always keep your sewing workplace clean.
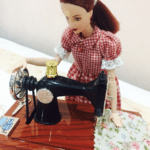
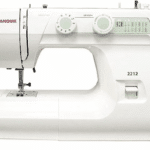
best sewing machine for doll clothes
You need one with an oscillating vertical bobbin system and good motor power.
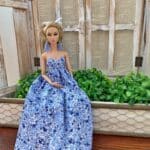
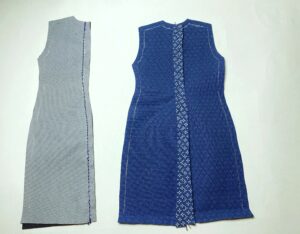
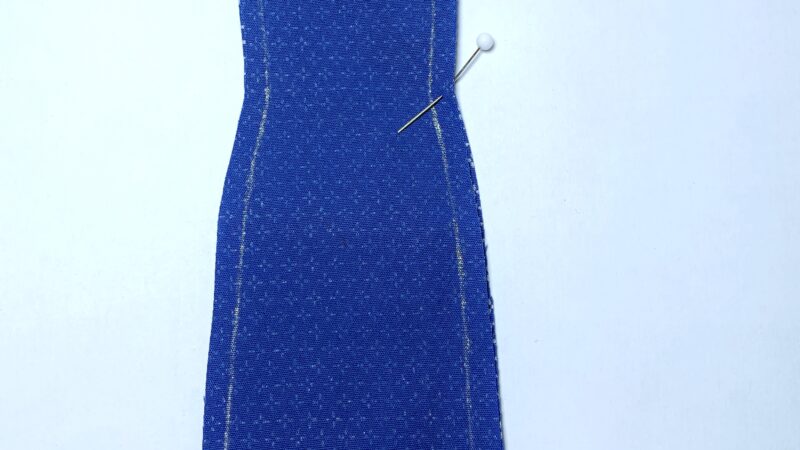
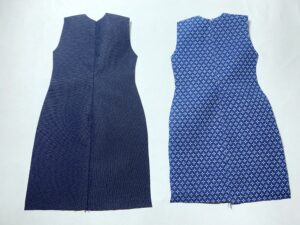
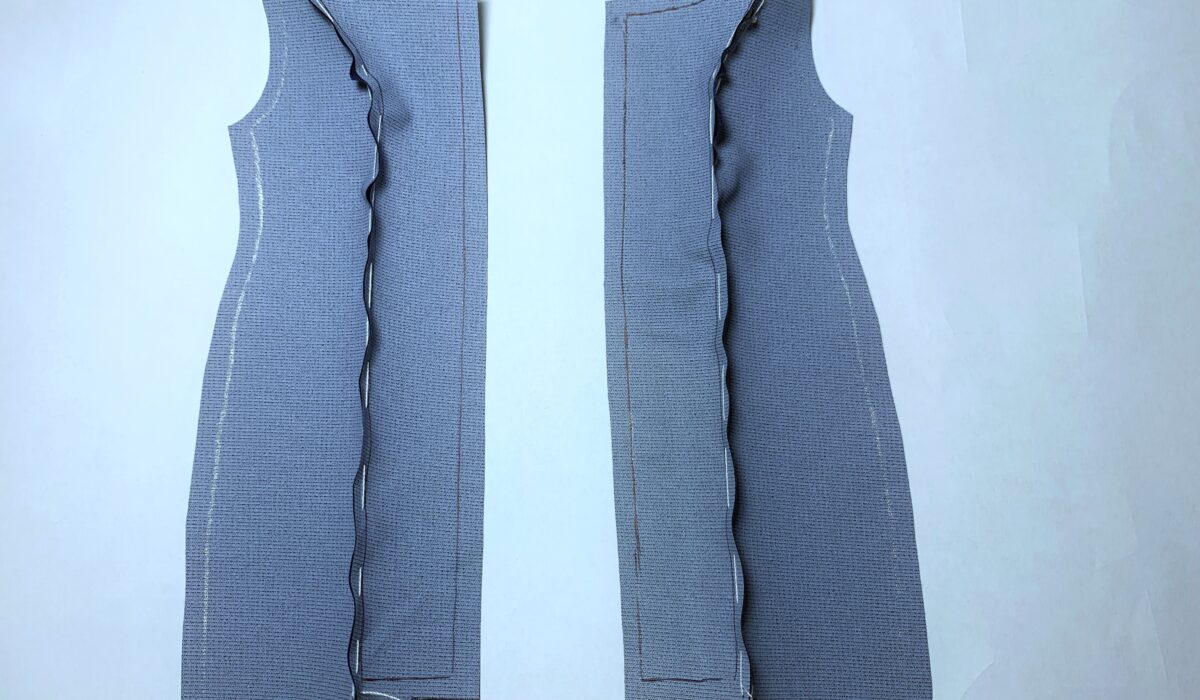
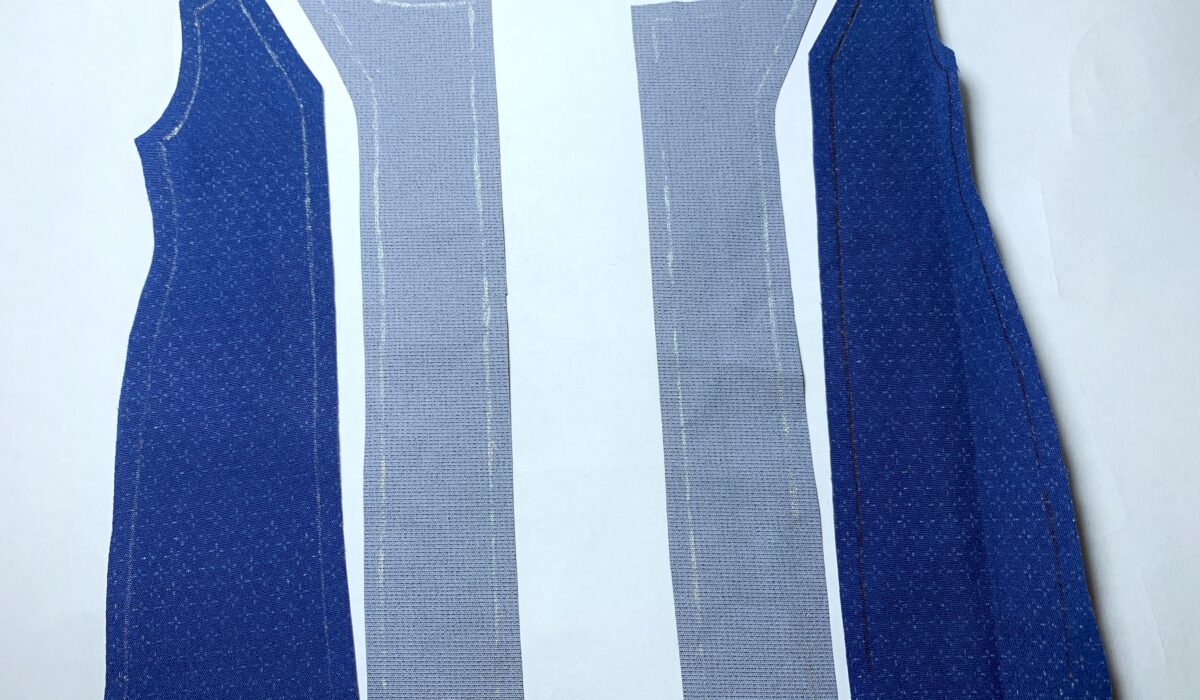
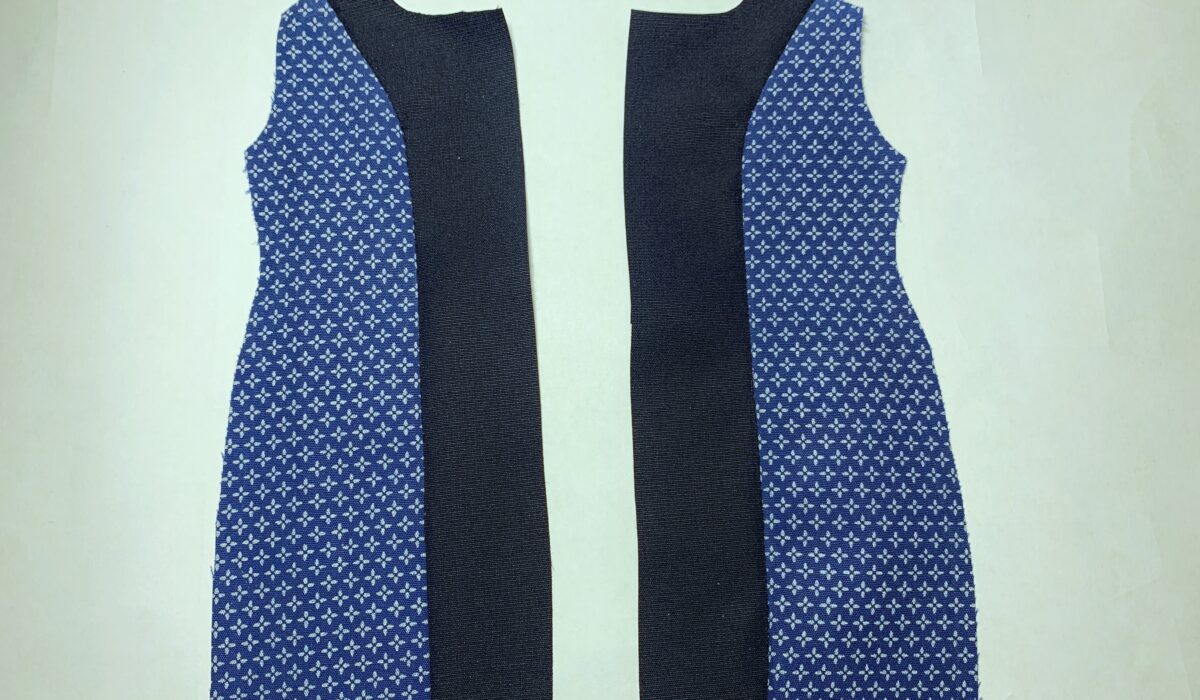
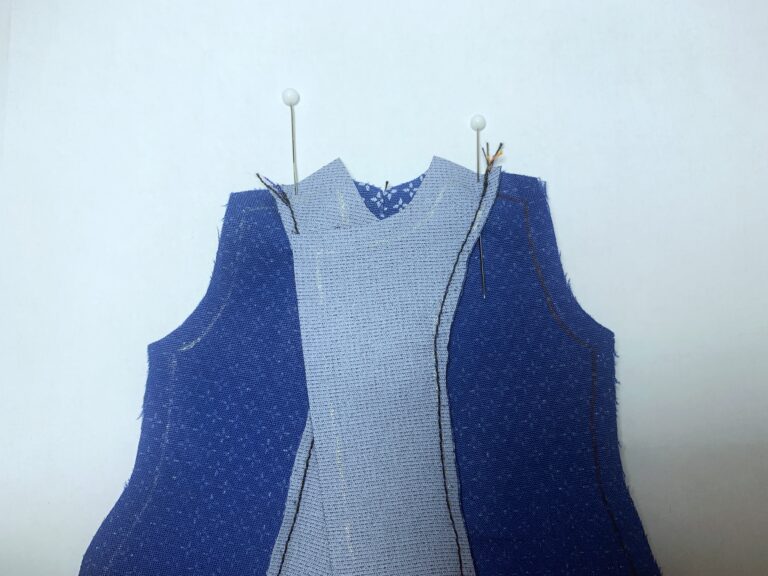
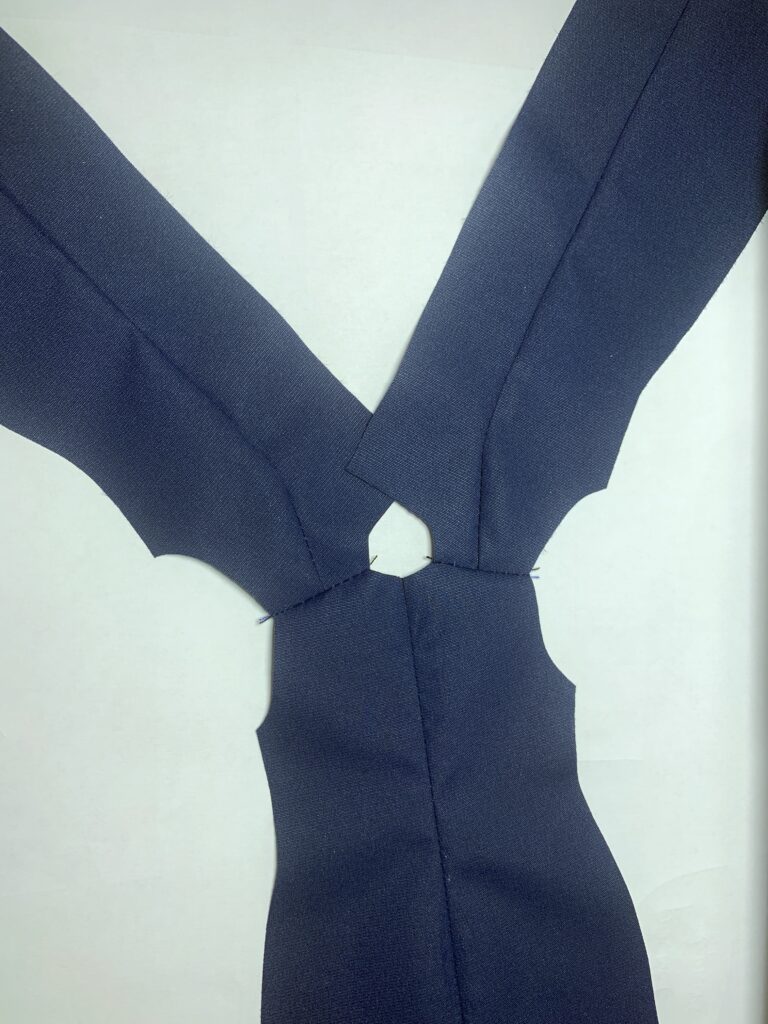
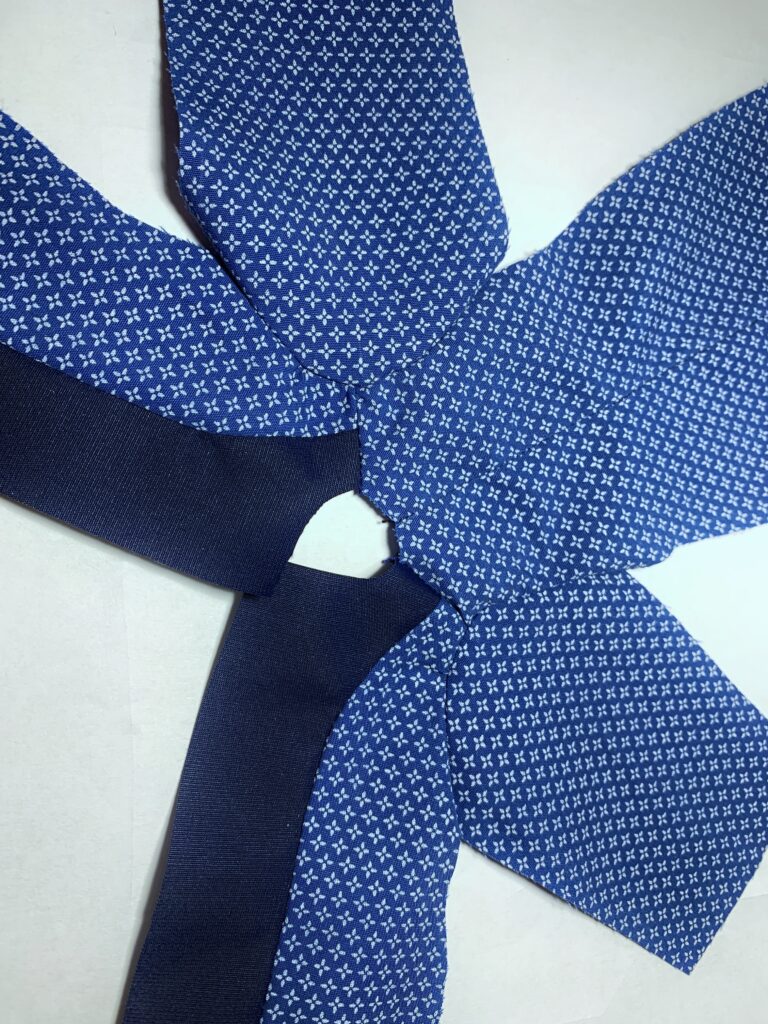
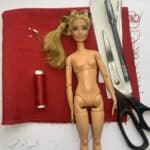
Doll Dress Pattern
Free printable pattern to make doll dress.
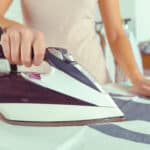
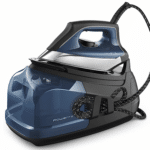
Best Irons for Sewing
Top Picks for Perfectly Pressed Fabrics.
DOLL PANTS PATTERN
Get doll pants pattern free.
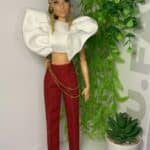
BARBIE SKIRT PATTERN
barbie doll skirt pattern for free.
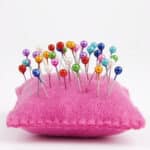
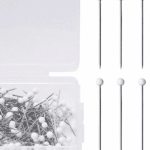
Best sewing pins
Explore the best sewing pins available in 2023.
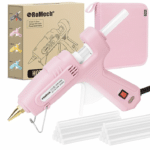
5 BEST BEST GLUE GUN FOR FABRIC
Comprehensive Review & Guide

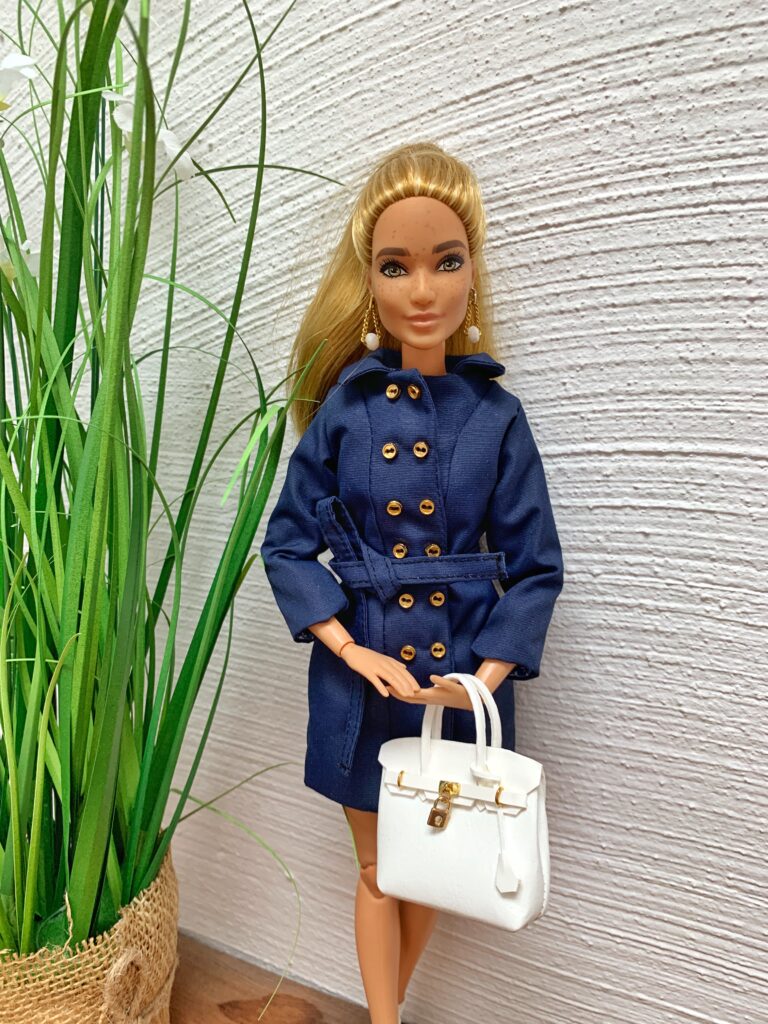
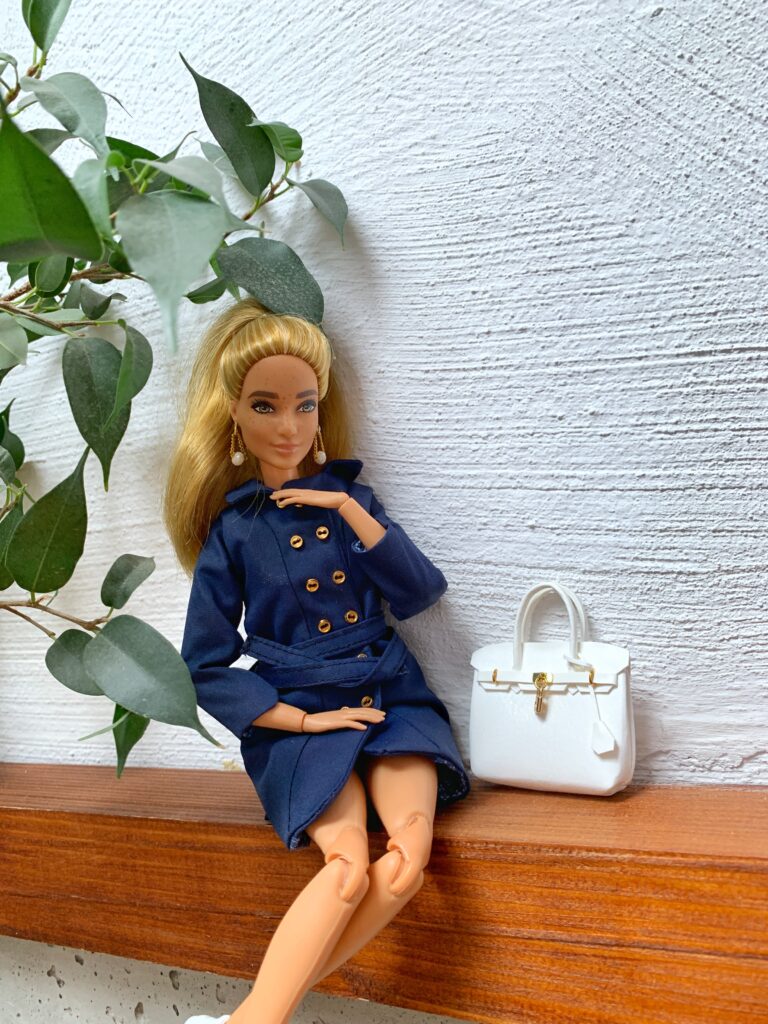
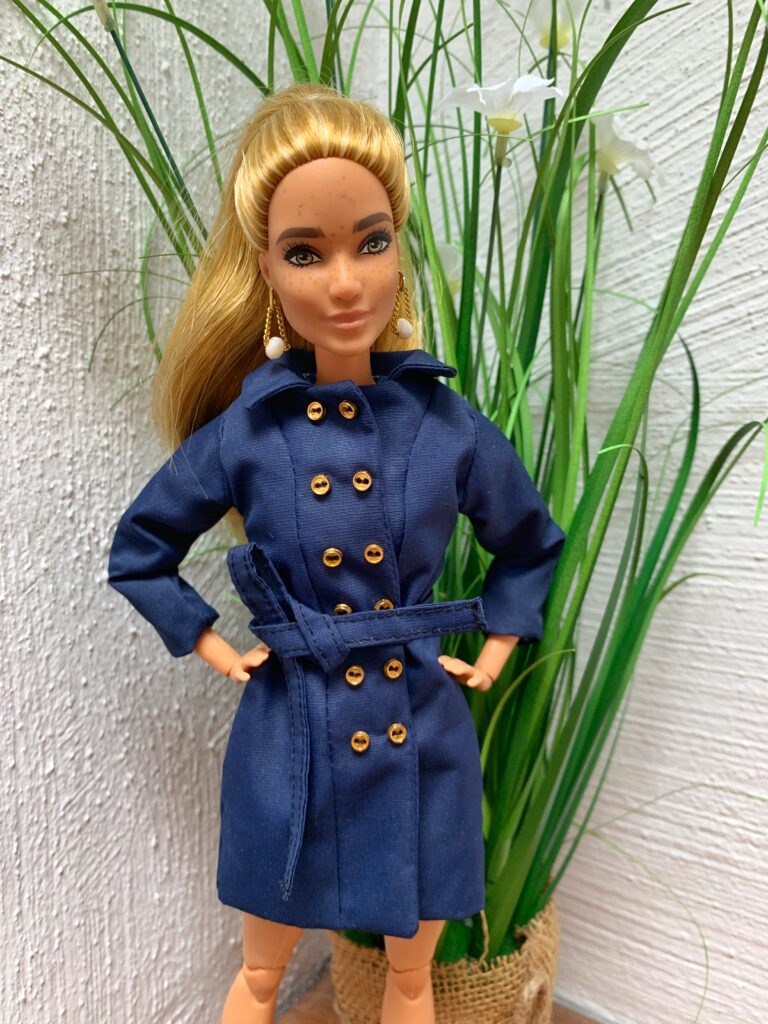
I love your patterns, and all the detailing. Thank you so much for sharing them! Question, do you have any patterns for the purses I keep seeing in your photos? They are so adorable!
I have all these bags in photos I exchange with other girls crafting for Barbies. I plan to make accessories, but now I have no time.
As soon as I do this, I will share it on-site. And this is an excellent idea. Thank you.